Fun With Tiles #5
See also Part 1, Part 2, Part 3, Part 4.
This was done using Gimp 2.2.
Tiles From Scratch
The previous articles in this series have concentrated on making tileable images from a starter image. This article looks at effects and techniques for starting from scratch. Depending on the technique, one may need to apply some of the previous techniques to make the created image into a tile.
Starter Images
This section is about how to get interesting starter-images which aren't necessarily tileable, but aren't cut from other images. You probably know about these already, but it doesn't hurt to make a list.
Plasma
The plasma effect can be a very useful starting point.
- Filters -> Render -> Clouds -> Plasma
Then apply some of the other techniques to make it tileable.
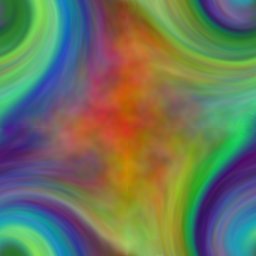
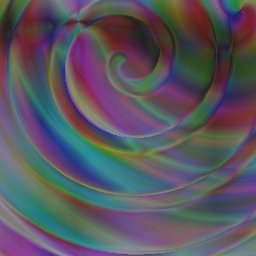
Result: (Plasma + Smudge + Gaussian Blur + Whirl)
Random Blends
This uses the Random Blends plugin, which can be quite fun.
- Filters -> Render -> Random Blends
- Undo and repeat until you get something you like.
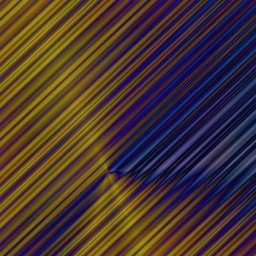
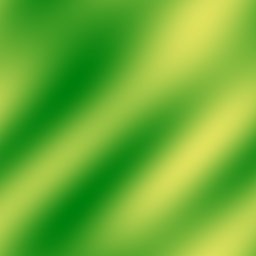
Results:
Sinus
This uses the Sinus plugin.
- Filters -> Render -> Pattern -> Sinus
Turn on the "Force tiling?" option.
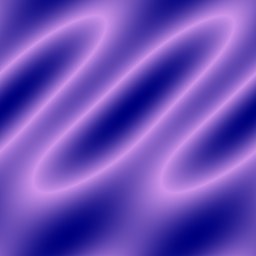
Results:
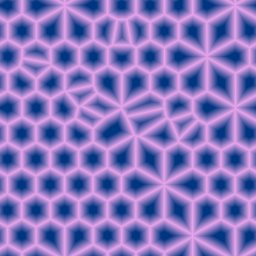
Voronoi
This uses the Voronoi plugin.
- Filters -> Render -> Pattern -> Voronoi
Set the "tileable" options.
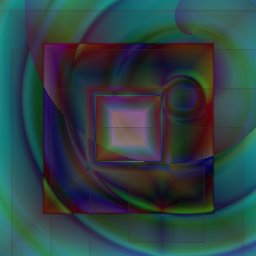
Result:
Two-Colour Tiles
- Fill the background layer with a nice colour. Call it "col1".
- Create a new layer and fill it with another nice colour. Call it "col2".
- Create a new white layer; call it mask1.
- Create a seamless tile image in black-and-white.
This can use any of the previous techniques, and then you apply Layer -> Colors -> Desaturate
What I like to do is make a plasma layer, desaturate it first, and then apply various techniques to make it seamless. - You may wish to increase the contrast of "mask1", by using Layer -> Colors -> Levels with the "Auto" button.
- Add a layer mask to "col2".
- Copy "mask1" and paste it into the layer mask of "col2".
- Hide "mask1" and admire the result.
- Flatten image and save.
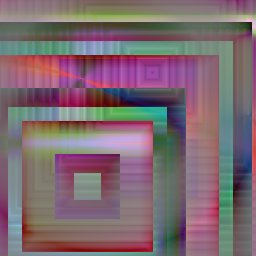
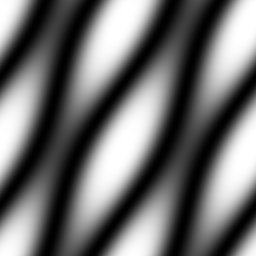
Result:
