Spirograph Corner
This was done using Gimp 2.4.
This is a method for creating a nice "curved corner" image with the spirograph plug-in in GIMP. This is useful for things like web-pages, or framing images.
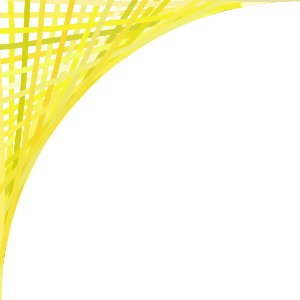
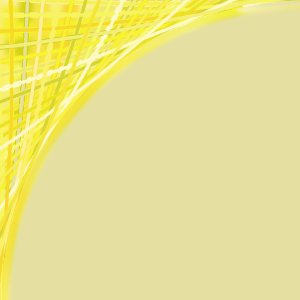
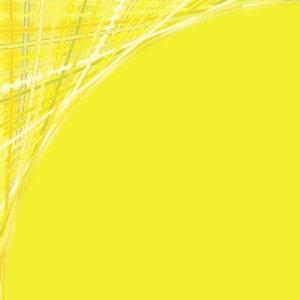
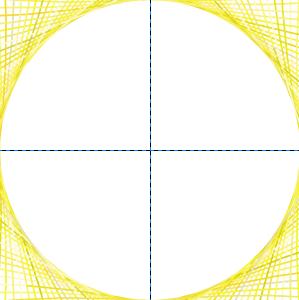
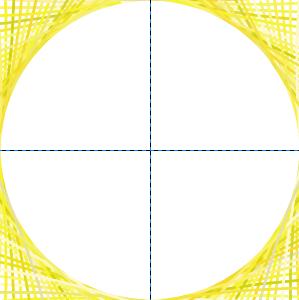
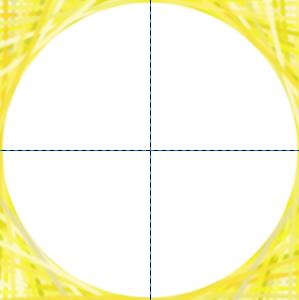
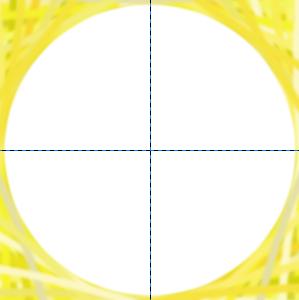
Some examples:
- Make a new image, twice as big as the final image you want. For this example, I made a 600x600 image, to get a 300x300 final image.
- Make a new transparent layer. This is where you are going to put the (first) spirograph pattern.
- The next part requires trial and error.
- Bring up the Spyrogimp window (Filters -> Render -> Spyrogimp)
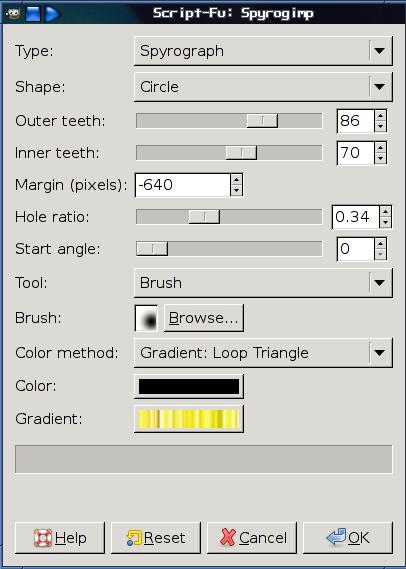
- Choose "brush" and "gradient" so that you will get a multicoloured result. Also choose a fairly small brush (we will choose bigger brushes later).
- What we are aiming for, is to make a spirograph image with a big enough negative margin that the inner edge of it touches the edge of the canvas. There are two main parameters you will need to adjust until you get that result: the margin, and the hole ratio. Adjusting the teeth will affect how dense the line-pattern is that you get.
- Keep on repeating and undoing the spyrogimp filter until you get parameters you want. (Note that the parameters given in the above screencap will work for a 600x600 image, but not for an image of a different size: hence the trial and error.)
- Bring up the Spyrogimp window (Filters -> Render -> Spyrogimp)
- Once you have the parameters you like, you might want to make note of them for future reference.
- If you haven't already, pick the gradient you want to use for your corner.
- If you like, you can leave it at that. However, for a more
complex "corner" image, do the following:
- Create four different layers, each one transparent, each
one using the same spyrogimp settings, with the following differences:
- One with a thin brush, with the "Start angle" at 180.
- One with a medium-sized brush, with the "Start angle" at 0.
- One with a thicker brush, with the "Start angle" at 180.
- One with an even thicker brush with the "Start angle" at 0.
- One with a thin brush, with the "Start angle" at 180.
- Make a background, or backgrounds. You could leave it at white if you prefer. Otherwise, use the colour-picker to pick one of the colours at the edges of the "thick-bush" layers, and use the bucket fill to fill in the background layer with that colour.
- If you want another variation, make another background layer and fill it in with another colour you picked with the colour-pickler.
- Here's the layers:
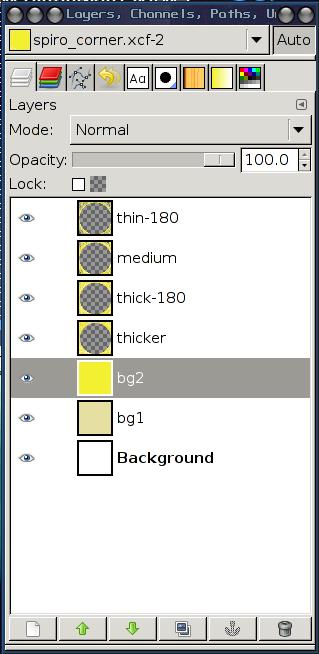
- Create four different layers, each one transparent, each
one using the same spyrogimp settings, with the following differences:
- Save your work in an .xcf file.
- If you just want the top left corner, then
create a centre guide (Image -> Guides) and
use the rectangular select tool to select the top left corner.
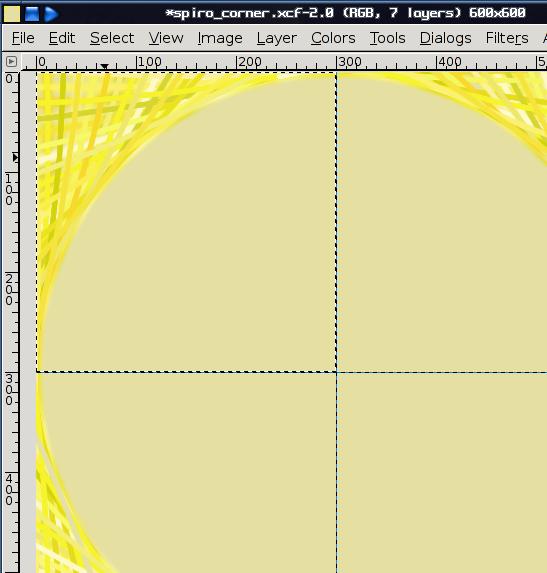
Crop image to selection. (Image -> Crop to Selection) - Hide and show different layers until you get a result you like.
- Flatten the image and save. If you want more than one variant, undo, and then display your variant, flatten image and save to a different file.