Search craftmarks
Prev
Next
24 records found. Page 1 of 2.
-
Criss-Cross Bind Off EdgingDetailed knitting tutorial about a bind off that matches the criss-cross cast on edging. These two techniques work great for making matching edges on scarves, blankets and cowls.2025-01-09 16:57:30
-
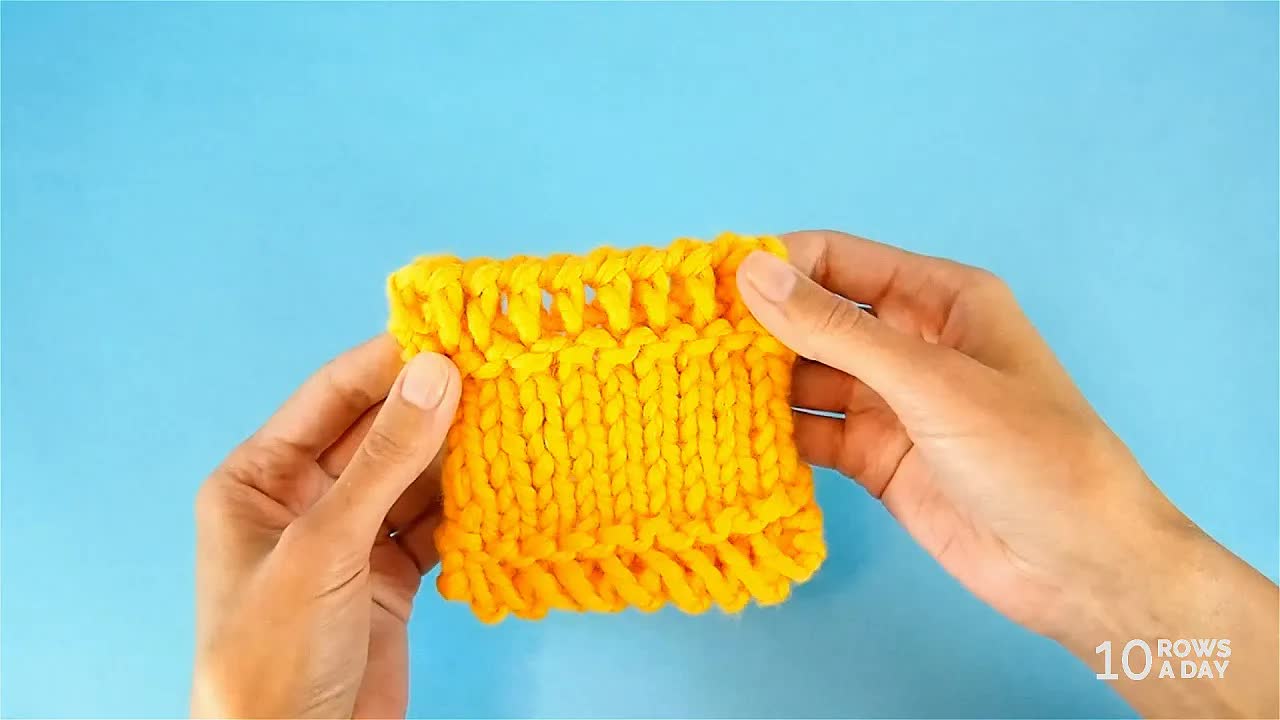
Easy Stretchy Bind Off for RibbingThis is a detailed tutorial for beginners about a simple way to make a neat stretchy bind off for 1x1 and other types of ribbing..
For more details about this method, go to https://www.10rowsaday.com/neater-yarnover-bindoff2025-01-06 03:40:54 -
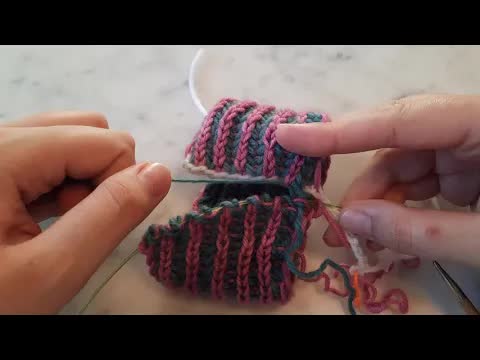
Grafting BriocheThis video shows how to graft brioche knitting in two passes to create a seamless fabric. This technique requires that you use a provisional cast on to start your project.2024-09-16 21:36:42
-
Graft Your Knitting, The Easy WayHow to Graft Your Knitting, The Easy Way - No Kitchener Stitch Required! Grafting your knitting doesn't have to be difficult or confusing! Use this simple technique for a seamless join, without the hassle of Kitchener stitch.2024-09-16 21:07:20
-
Lacey Bind Off with a Crochet HookMiraculous Elastic or Lacey Bind Off with a Crochet Hook Part 4 of a continuing series on Binding Off Knitted Projects with a Crochet Hook. Video includes how to knit, purl, and frog the Lacey Bind Off.2024-01-21 11:29:27
-
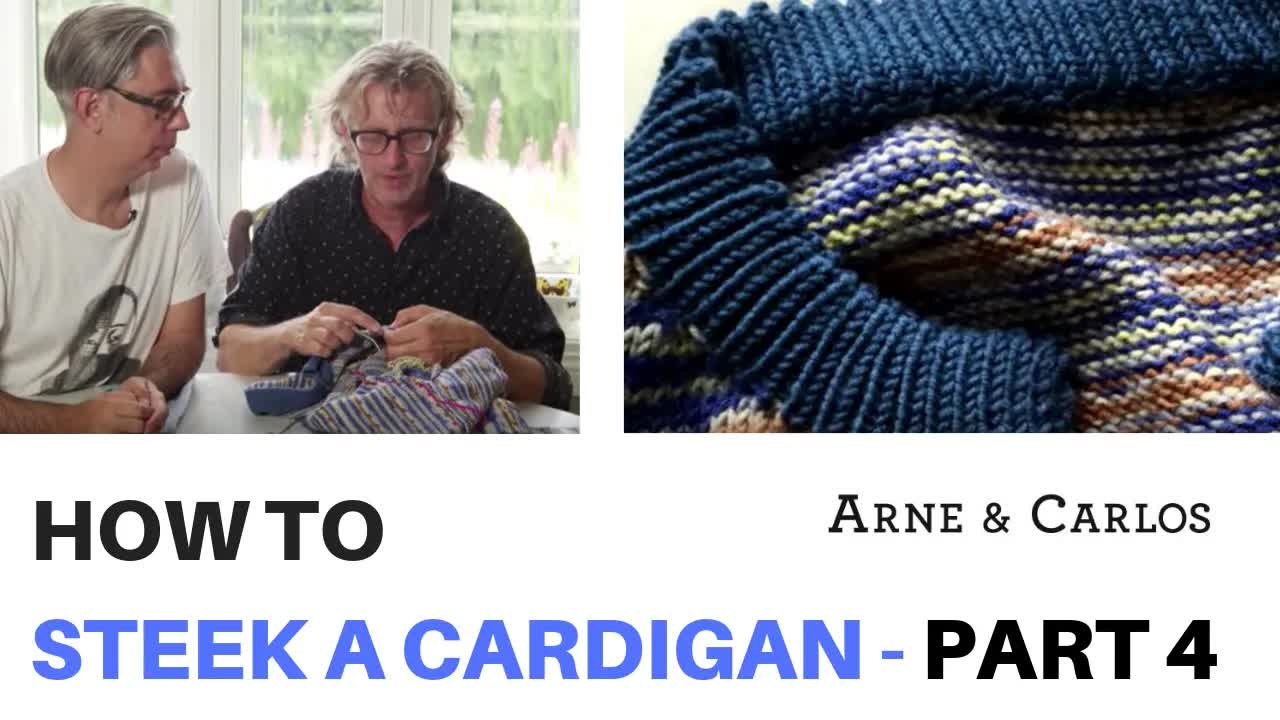
Steeked Cardigan 4. Collar and Finishing TouchesJoin us for a step by step tutorial in 4 parts where we show you how to knit and steek a knitted cardigan. In this final episode we show you knit the collar and add all the finishing touches.
- ARNE & CARLOS
How to steek a cardigan by ARNE & CARLOS Part 4. Adding the collar and the finishing touches.2024-01-16 10:38:37 -
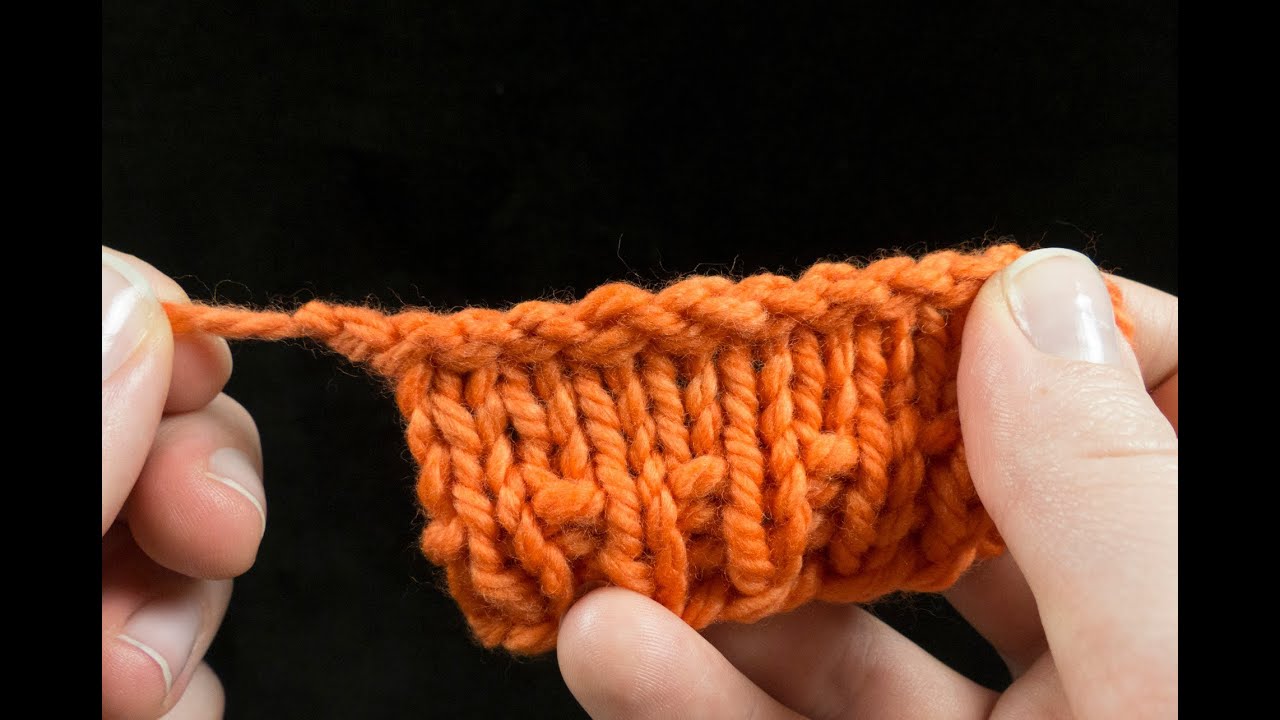
Simple Stretchy Bind OffSo simple, and so stretchy! This is my new favorite bind-off, good to use whether you need a little or a lot of stretch. A good matching cast-on is the German Twisted CO, video here: http://youtu.be/UcwmCuIylII
Instructions for working this BO in 2x2 rib: Step 1: K 2 stitches, insert the left needle into the front of the two stitches you just worked, wrap the back needle and knit them together (k2tog tbl) Step 2: P 1 stitch, Insert left needle into the back of the two stitches you just worked, wrap the front needle and purl them together (p2tog) Step 3: Repeat Step 2 Step 4: K 1 stitch, insert the left needle into the front of the two stitches you just worked, wrap the back needle and knit them together (k2tog tbl) Step 5: Repeat Step 4 Repeat Steps 2 through 5
Instructions for working this stitch in any other stitch combination: K every knit stitch, and k2tog tbl it with the other stitch on the right needle P every purl stitch, and p2tog it with the other stitch on the right needle
Information on things you'll see in this video: The shawl I'm wearing (not my design) can be found here: http://www.ravelry.com/projects/verypink/pendulum
The needles I use are Knitter's Pride Bamboo DPNs: http://astore.amazon.com/verypinkcom-20/detail/B00FGF1V20
The bulky yarn I used is Knit Picks Wool of the Andes Bulky in colors Crush, Yonder, and Honey: http://www.knitpicks.com/yarns/Wool_of_the_Andes_Bulky_Yarn__D5420155.html
The nail polish I'm wearing is by Julep, color "London". http://refer.julep.com/s/stacip2023-06-12 18:23:00 -
Weaving in ends with a help of the felting needleLearn how to weave in your loose ends forever. Works on all animal fiber yarns but also on silk and even on synthetic fibers.2022-07-10 19:55:00
-
Get Rid of Ends in 2 steps- Learn to Bury in Ends for Knitting and CrochetGet Rid of Ends in 2 steps- Learn to Bury in Ends.
This is NOT just for intarsia and it is NOT just for needle knitting, this will work with crochet or loom knitting or arm knitting as well. Use the seam of your project to bury in the end.
This technique is not only good for intarsia but for all your finishing. Now learn how to finish your work perfectly.2022-07-10 19:45:00 -
Tutorial - How To Weave In Your Tunisian Crochet EndsTwo different ways to weave in your ends with Tunisian crochet2021-12-13 02:22:00
-
Yarn-less Bind OffUh-oh, you just finished your last row of knitting, but don't have enough yarn to bind off. What to do??? Never fear, the YARN LESS BIND OFF will rescue you. For written instructions and more knitting info, visit the blog: http://www.sapphiresnpurls.com/2013/07/yarnless-bind-off.html2019-05-04 22:33:00
-
Perfect Bind-Off for Garter Stitch: The Icelandic Bind-OffThe Icelandic bind-off, good for Garter stitch. The Icelandic bind-off is faster because it is done "on the needles" as opposed to sewn with a tapestry needle. It matches the fabric almost perfectly, and is strong, stretchy, and sturdy â just what the doctor ordered. Tip: You can use the Icelandic Bind-off on any fabric, not just Garter stitch. Try it on Stockinette -- it will make a pretty little rolled edge. Go to this post to see step-by-step photo instructions, tips and tricks, and an animated demo: http://knitfreedom.com/bind-offs/3-gorgeous-bind-offs-garter-stitch
Icelandic Bind-Off Step-by-Step Instructions 1. With R needle, reach through 1st st purlwise. 2. Catch front loop of 2nd st. 3. Draw 2nd st through 1st st. 4. Wrap your yarn to knit. Pull yarn through. 5. Complete the K stitch. 6. Move st back to L needle. 7. Repeat steps 1-6 across row. 8. Cut yarn and pull through last st.2019-05-04 20:48:00 -
Two ways to make i-cord bind offIn most cases, the regular way to bind off stitches works just fine. But if you want to add a special touch to the open edges of your project, you need to use a special way of closing the stitches. I-cord bind off is one of those ways.
It turns plain edges of a blanket, cowl, top-down hat and toe-up socks into a sophisticated decoration, and adds an elegant detail to cuffs and bottom of a top-down sweater. A big bonus of this bind off is that it is fully reversible and looks great with any stitch pattern.
Even though the i-cord bind off looks quite fancy, it is not hard to do. In fact, this shows two ways to make this bind off, one easier than the other.2019-05-04 20:38:00 -
How to Crochet Ribbing at the End of a ProjectHow to Crochet Ribbing at the End of a Project by Little Monkeys Crochet www.littlemonkeyscrochet.com
Crocheting ribbing and then working on from there is easy... but sometimes you need a section of ribbing at the end of your project. Perhaps you want to add ribbing to a top-down hat, or you need ribbing on both sides of a pillow or blanket. Forget crocheting it separately and then sewing it on... crocheting it right onto your project is easy!2019-04-06 18:47:00 -
How to tie an adjustable sliding knot for a cord necklace.This tutorial shows how to make an adjustable necklace by using two whippings to tie the adjustable knot, rather than tieing a bulky knot. This tutorial shows how to do it with traditional whipping, but a similar effect could be done with wire wrapping.2018-10-17 14:40:00
-
Addi Express: Casting On & Off & How To Change ColorsIn This Episode: 2 Methods for Casting On/Off & changing colors with the Addi Express knitting machine. This works for other round knitting machines too.2017-07-10 10:11:00
-
How to end your kumihimo using the wired methodA video tutorial demonstrating how to end your kumihimo braided jewellery using a wired method. With this method, you don't bind the end of the braid with wire, you bind it with (thread and) glue. Then you push the wire through the braid and twist it together, and then hide all that unsightly stuff with a cap or cone finding.2017-03-27 14:19:00
-
Loom Knitting: How to Bind Off for Double KnittingLearn how to bind off for double loom knitting.2014-11-30 22:03:00
-
Finish and Weave in drawstring of hat - Loom KnittingHow to finish after casting off your hat in a drawstring by weaving in the excess tail.2014-11-18 01:25:00


