Search craftmarks
Prev
Next
17 records found. Page 1 of 1.
-
Leafy Vines Earrings Tutorial - Beginner Friendly Wire Wrapping Project | Spring Nature JewelryLearn to create a cute pair of nature-inspired earrings with this beginner-friendly wire wrapping/wire weaving tutorial. Materials: 20 and 28 gauge round, soft wire 6mm beads (2 per earring) Cat's eye beads Ear wires of your choice Tools Used: Chain Nose Pliers Round Nose Pliers Flush Cutters Ruler Fine tip sharpie (optional)2021-11-29 11:32:00
-
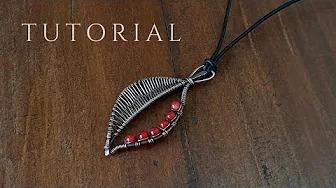
Tutorial: Leaf pendantEasy tutorial to make a wire pendant in the shape of a leaf. Materials: Copper wire 18G and 26G. Tools: Cutting pliers, round and flat. File for jewelry.2021-11-29 09:59:00
-
How to Use Vintaj Patinas and Glazehttp://www.beadaholique.com/jewelry-making-supplies/patinas-colors/patinas - Now you can color your Vintaj pieces using an amazing array of permanent patinas. Mix colors, create opaque finished or create washes, and use the Glaze and Vintaj relief block to expose the base metal below and seal it's color in place. The actual patinas themselves do not need to be sealed. Designer: Julie Bean2017-11-16 16:01:00
-
How To Make Bangles With Plastic BottlesBangles cut out from the plastic of a round plastic bottle (like a drink bottle). After applying heat to the sides of it, they become strong enough and rough edges have gone. Not sure if they are still too cheap-and-tacky to want to make, however, they might provide a good base for a silk-wrapped bangle etc.2017-08-29 06:17:00
-
How to Embed an Eye Pin Bail Into a Resin MoldIn this tutorial you will learn how to turn an eye pin into a simple bail and embed it into a resin mold. This is an easy way of turning molded resin objects into jewelry.
Designer: Julie Bean2016-11-25 00:16:00 -
Resin paper jewelry tutorialUse a paper punch to punch out shapes in pretty papers, punch a (guide) hole for jump-rings to go through, coat both sides with resin and let cure while leaving it resting on wax paper. It's interesting that this tutorial doesn't instruct one to seal the paper first, while others I've seen, do.2016-11-18 21:46:00
-
UV Resin - Easy No Mold Star TutorialRather than using a mold, put the resin on top of a base, such as little wooden stars. This works because most UV resins are thick enough that they won't pour over the side, but dome instead. This tutorial also shows an ombre effect by pre mixing three shades (using PearlEx mica powder), putting them on with a toothpick, and then blending them in between sections.2016-10-30 17:33:00
-
How to finish resin charmsA couple of useful tips about adding bails to resin charms. One I hadn't seen before was: use a piece of styrofoam as a drilling surface to protect the surface underneath.,2016-10-30 06:40:00
-
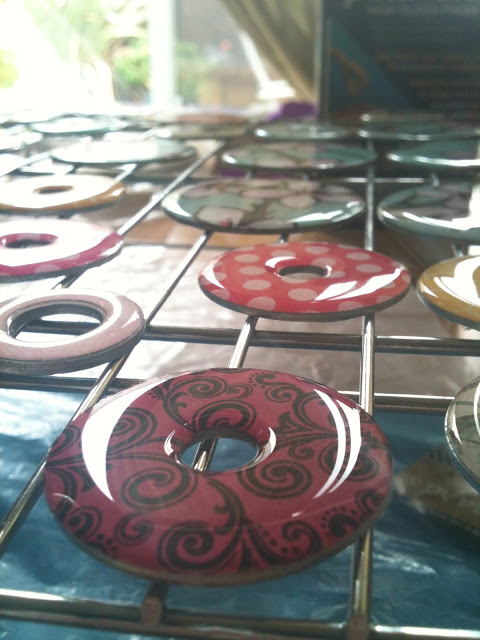
Mod Podge Washer Necklaces with Enviro TexWhat is notable about this is the tips for finishing the washer-based pendants with Enviro Tex, which is a glossy two-part resin finish; somewhat fussy to work with, but a very durable and glossy finish.,2016-10-04 13:53:00
-
Using macrame to wrap a cabochonThe tutorial is in Russian, but the pictures make it clear enough.2016-09-04 15:44:00
-
How To Straighten Leather CordPull the length of cord through a close-fitting bone bead, to soften and un-kink it.2015-03-20 15:17:00
-
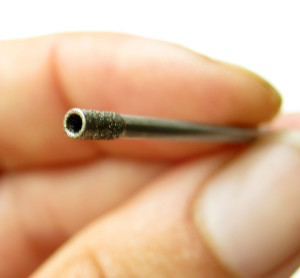
How To Drill Small Beach StonesThis will show you how to drill holes in your own cabochons, or stones. Please remember to go slow and keep it under water.2015-03-20 15:06:00
-
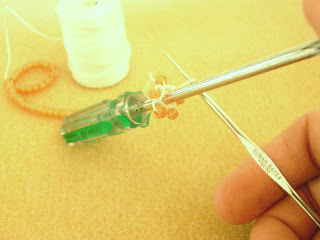
How to start a bead crochet rope.Put the rope on a (Phillip's Head) screwdriver and crochet around it. The start of the rope will rest on the handle and not flop around.2015-03-20 14:57:00
-
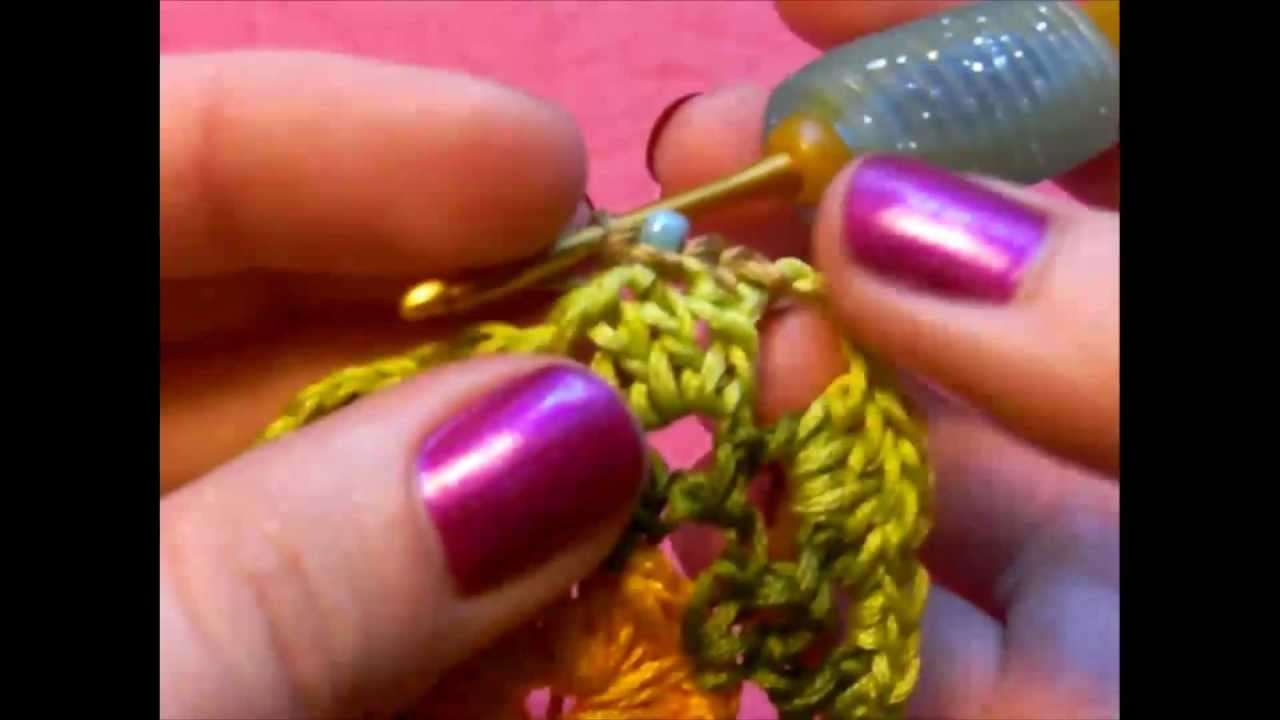
How to Crochet With Beads TutorialThis video shows two different methods of how to add beads to your crochet project.2014-02-19 03:10:00
-
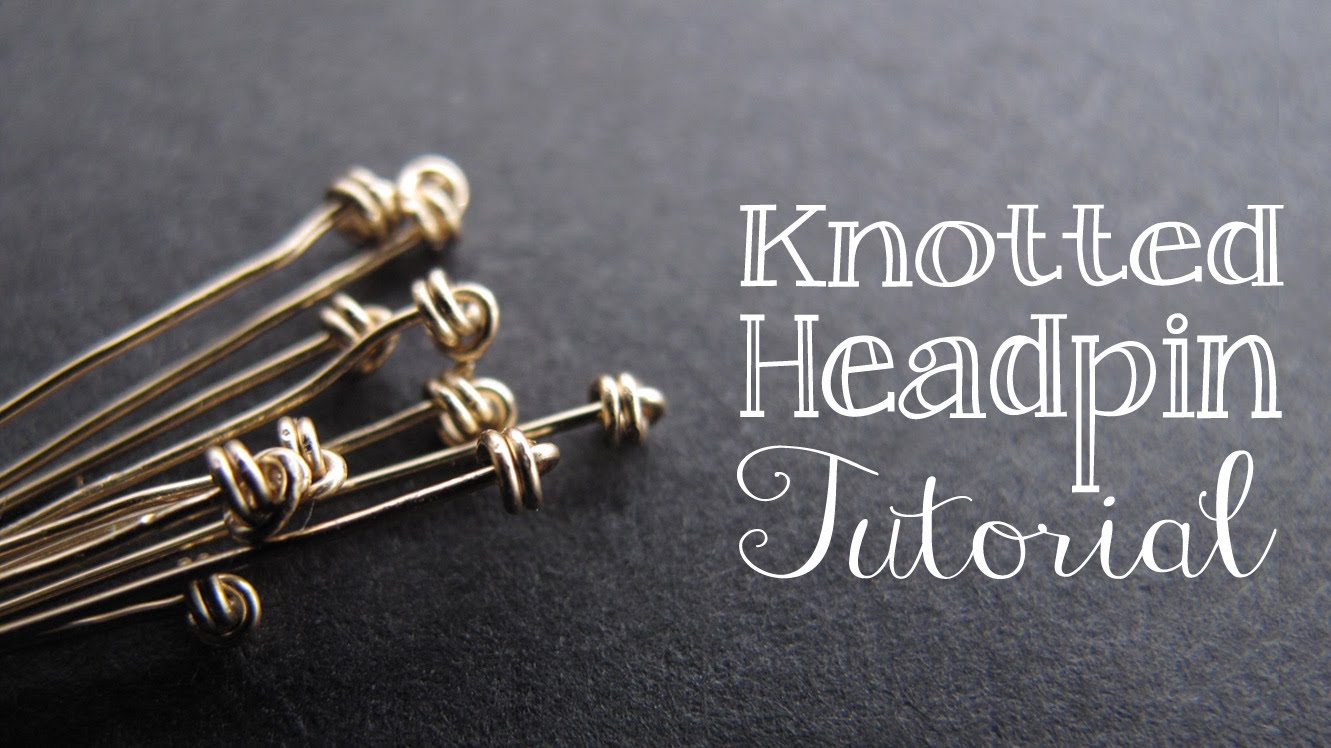
How to Make a Knotted Headpin - Jewelry Tutorial HeadquartersTutorial for a "knotted" headpin; no actual knots are involved, but you get a nice look, more interesting than a standard pin-like headpin.
Written tutorial at http://jewelrytutorialhq.com/how-to-make-a-knotted-headpin2013-12-25 17:05:00 -
Flatwork Bead-Crochet Tutorial 2With this method of bead crochet you can place beads on ALL rows of the crochet. While this is 'part 2', the first part is just rambling; this is where the actual tutorial starts.2013-10-07 02:37:00


