Search craftmarks
Prev
Next
6 records found. Page 1 of 1.
-
Celtic knot kumihimo braceletThis tutorial shows how to make a Celtic knot kumihimo bracelet. This uses two different braid structures to create the bracelet. Materials: 1mm satin cord 6mm round beads 20mm ribbon ends Findings2018-06-29 16:18:00
-
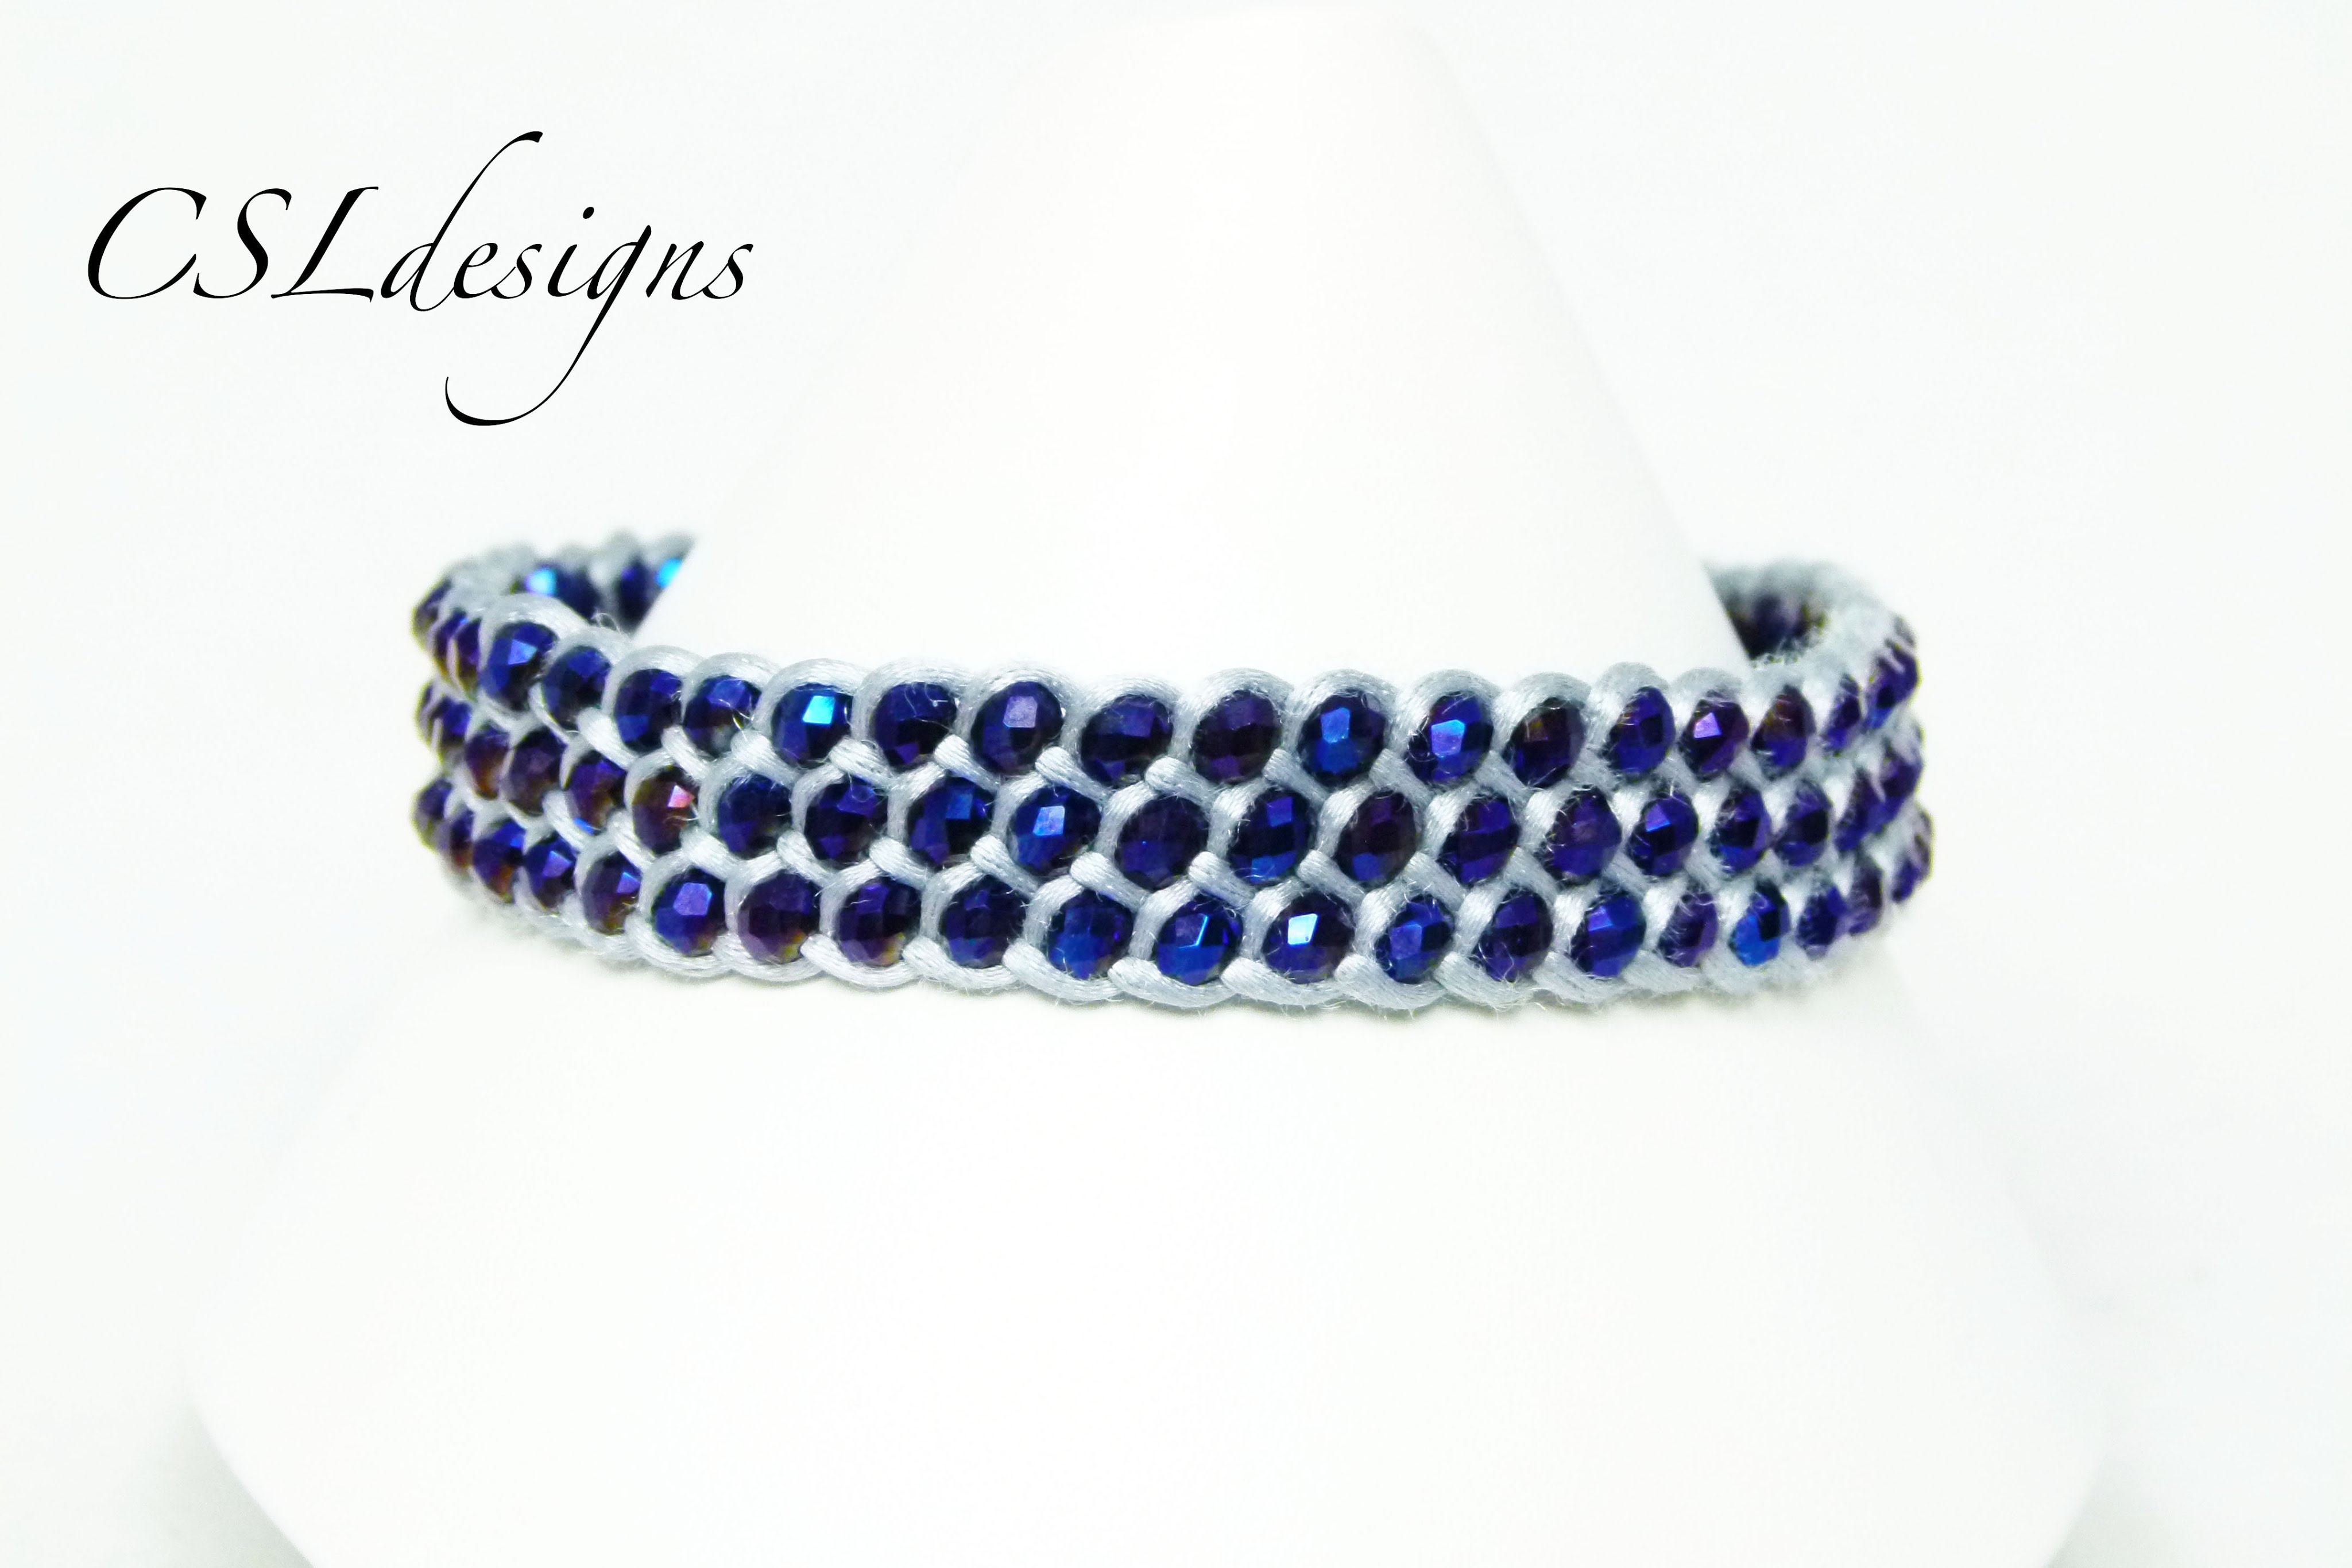
Fully beaded flat kumihimo braidThis tutorial shows how to make a fully beaded flat kumihimo braid. This is a seven-strand flat braid, and there are three beads used per row. This looks like it locks the beads in more easily than the 8-strand round braid that is the most commonly used braid. Materials: 1mm satin cord, 4 x 3mm rondelles with 1mm holes, 8mm ribbon ends. This uses a square kumihimo disk, but it should work using other platforms as well.2018-06-27 22:12:00
-
How to add beads to a flat kumihimo braidThis tutorial shows how to add beads to a flat kumihimo braid, on the sides of it. While this is demonstrated on a square kumihimo disk with the beads being added as you go, it could also be done on a marudai with pre-strung beads. The beads would have to be strung on every cord, and brought down when that cord is moved to the side position.2017-09-27 19:39:00
-
Beaded channel set flat kumihimo braidThis tutorial shows how to make channel set beaded flat kumihimo braid; that is, beads go down the centre like they're in a channel. This design isn't suited for a marudai, since the beads have to be strung on while the braid is being made. They can't be pre-strung, which means that the cord has to be not spooled, which means one can't use weighted spools, which means you can't do this on a marudai. But it's a nifty design; the beads are snug inside the braid.2017-09-27 19:16:00
-
How to Make a Kumihimo Braid with Wire Core -Braided Jewelry TutorialThis video shows how to make a kumihimo braid with a wire core, not just for making cuff bracelets, but for pendants (and earrings etc). Rather than tying a knot in the cords and trying to attach the wire, this method wraps the wire around the cords, leaving one end of the wire free for making a wire loop (or wire decoration) and the rest of the wire is the core around which the braid is braided. Then, when there's still wire left, the braid is finished with a couple of half-hitches around the wire, and then the remaining wire can be played with for more decoration at the other end. And the braided part can be bent in whichever way you want, with the wire core making it stiff.2017-06-21 22:00:00
-
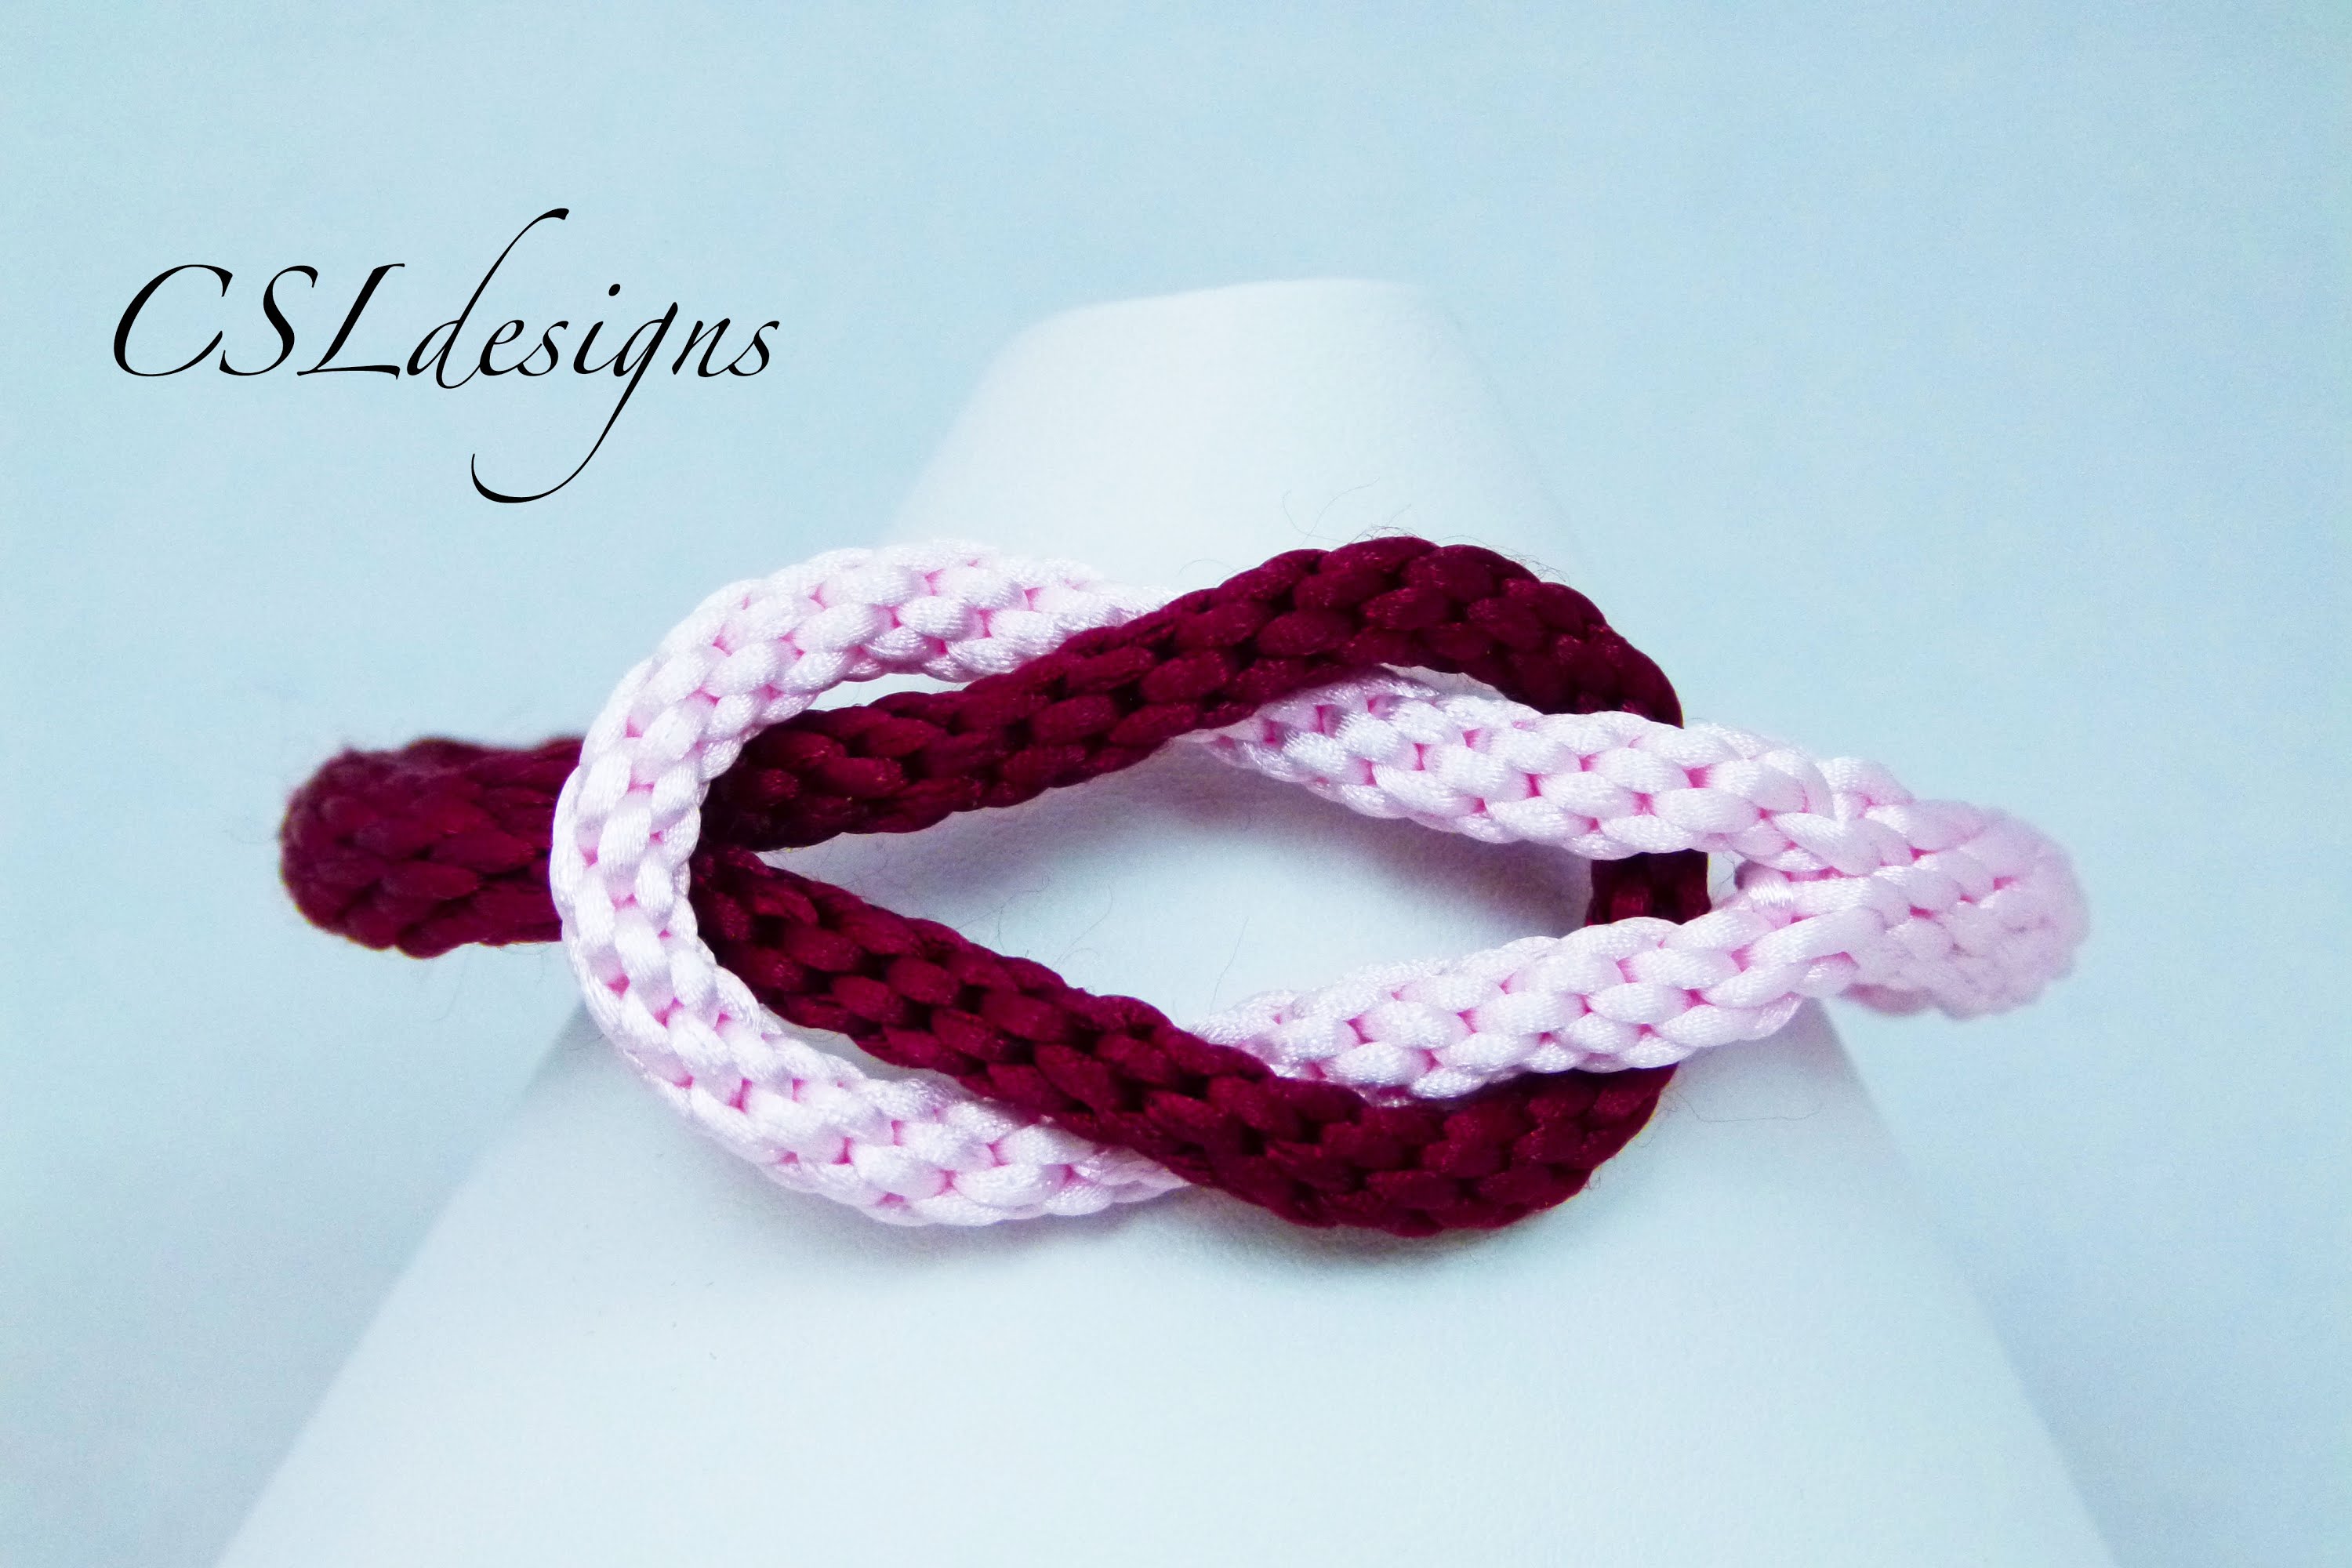
Infinity kumihimo braceletThis tutorial shows you how to make an "infinity" kumihimo bracelet. (Me, I wouldn't call it Infinity, it's more like a square knot). The idea is to make a seamless loop by making a section of 8-strand braid, and then taking both ends of that together to make a 16-strand braid. Then one does that again, for the other half of the bracelet, then pull the loops together to make a square-knot-like centrepiece for the bracelet. Very cool!2017-02-08 21:59:00


