Search craftmarks
Prev
Next
262 records found. Page 1 of 14.
-
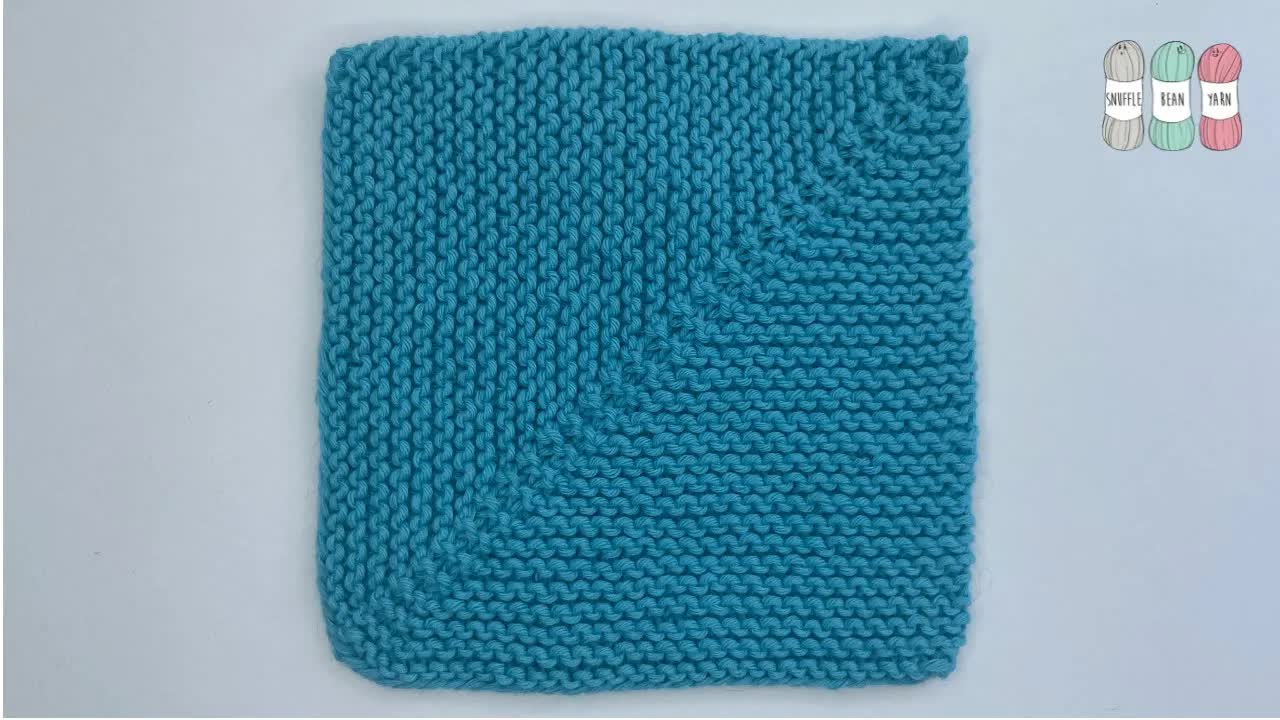
Knit a Mitred SquareLearn how to knit these funky, modern, mitred squares with me. Perfect for cosy stash busting blankets, these squares are addictive once you start making them!2025-01-16 20:02:17
-
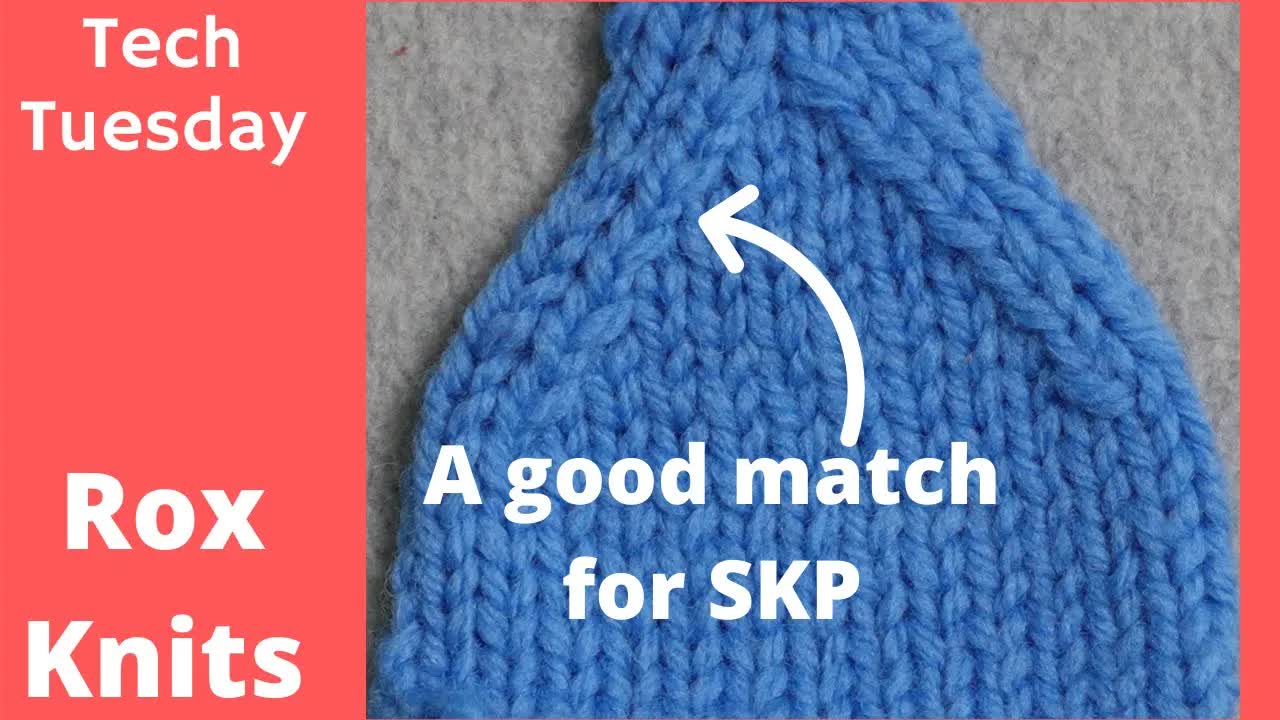
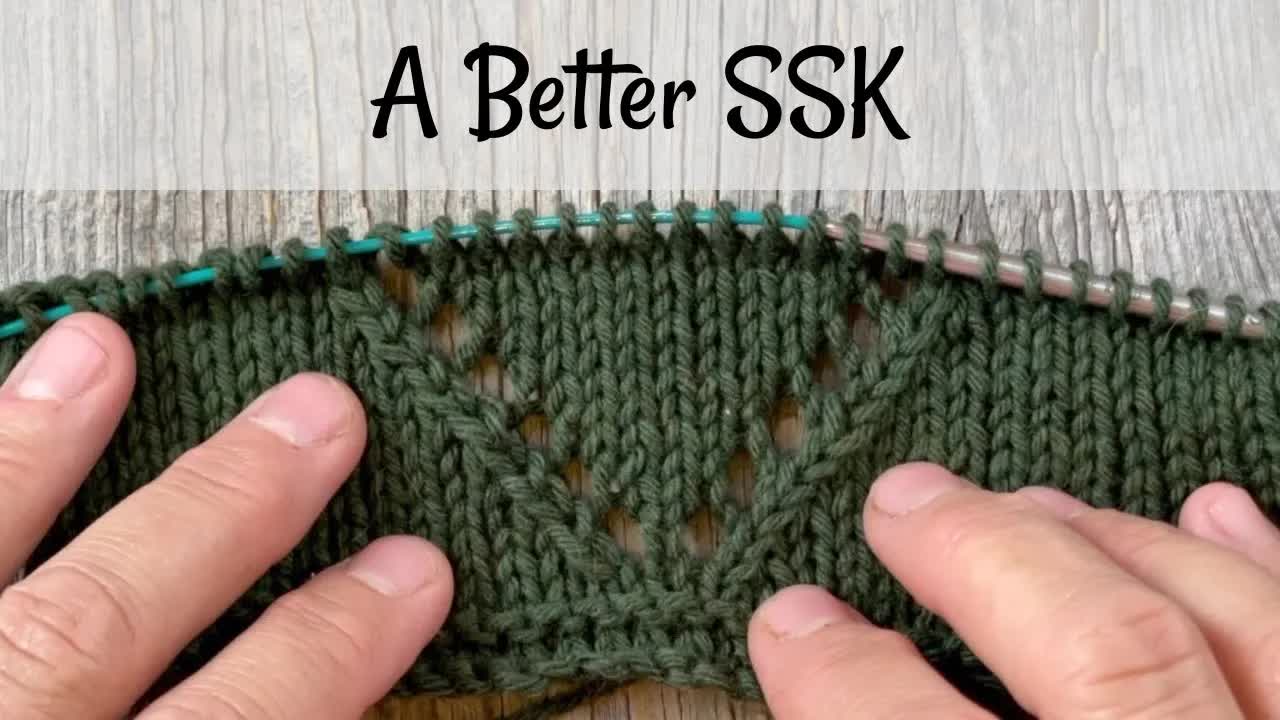
K2tog decrease alternatives (KSP)This video demonstrates two alternative techniques for producing the same result as a k2tog decrease. The alternatives might be easier for some knitters and their individual knitting style, or may produce a result that resolves a tension issue or issue with getting a good match with mirrored decreases.2025-01-14 11:25:12
-
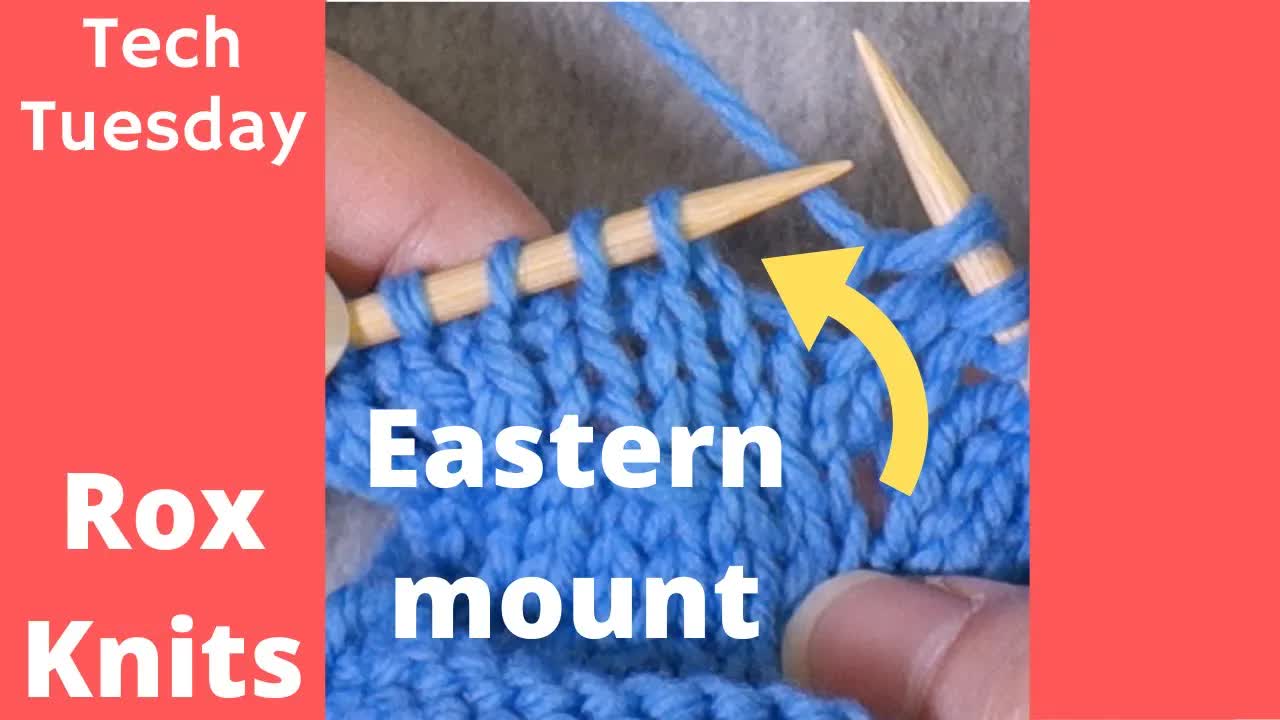
Decreases for Eastern and Combination KnittersThis video demonstrates how to execute untwisted single and double decreases of all types whether stitches are mounted with the leading leg over the front of the needle (western mount) or back of the needle (eastern mount). An explanation of why stitches might be mounted one way versus the other is given, followed by how to work each type of decrease, first with stitches having a western mount (as assumed by most published patterns), and then with stitches having an eastern mount.2025-01-12 17:21:13
-
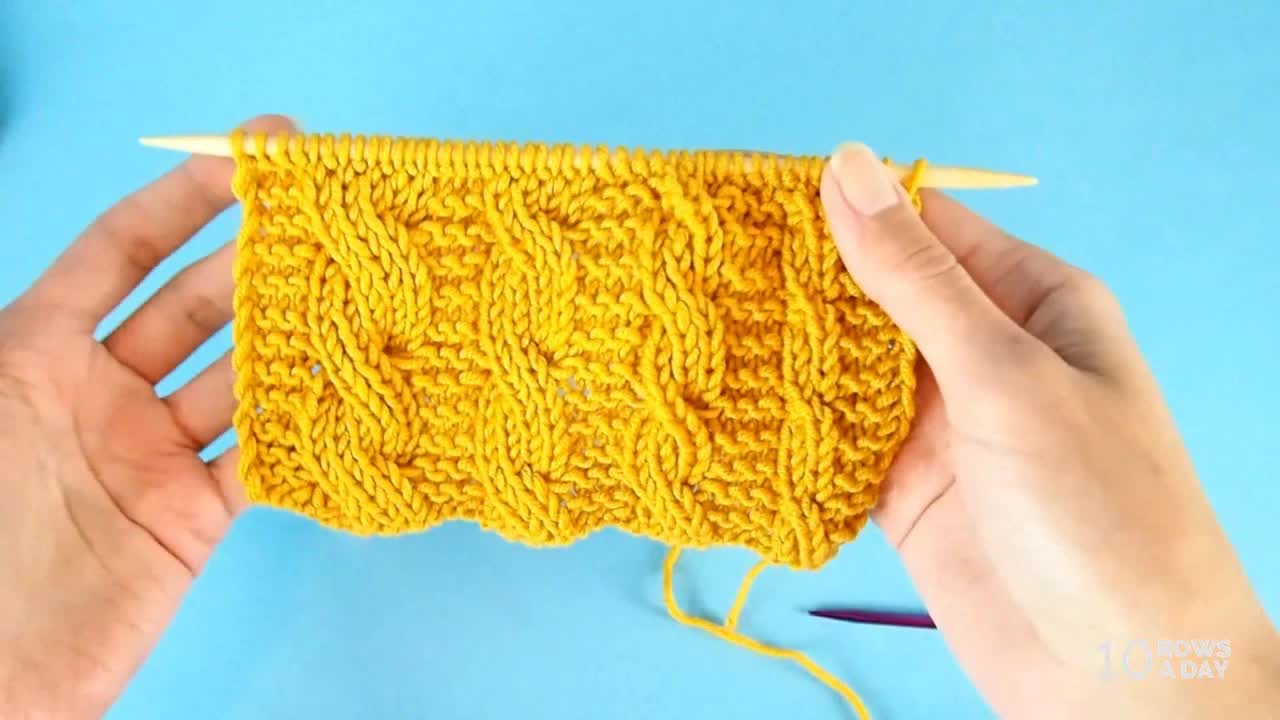
Reversible CablesHow to Knit Reversible Cables For more details about this method, go to https://www.10rowsaday.com/reversible-cables2025-01-09 15:45:54
-
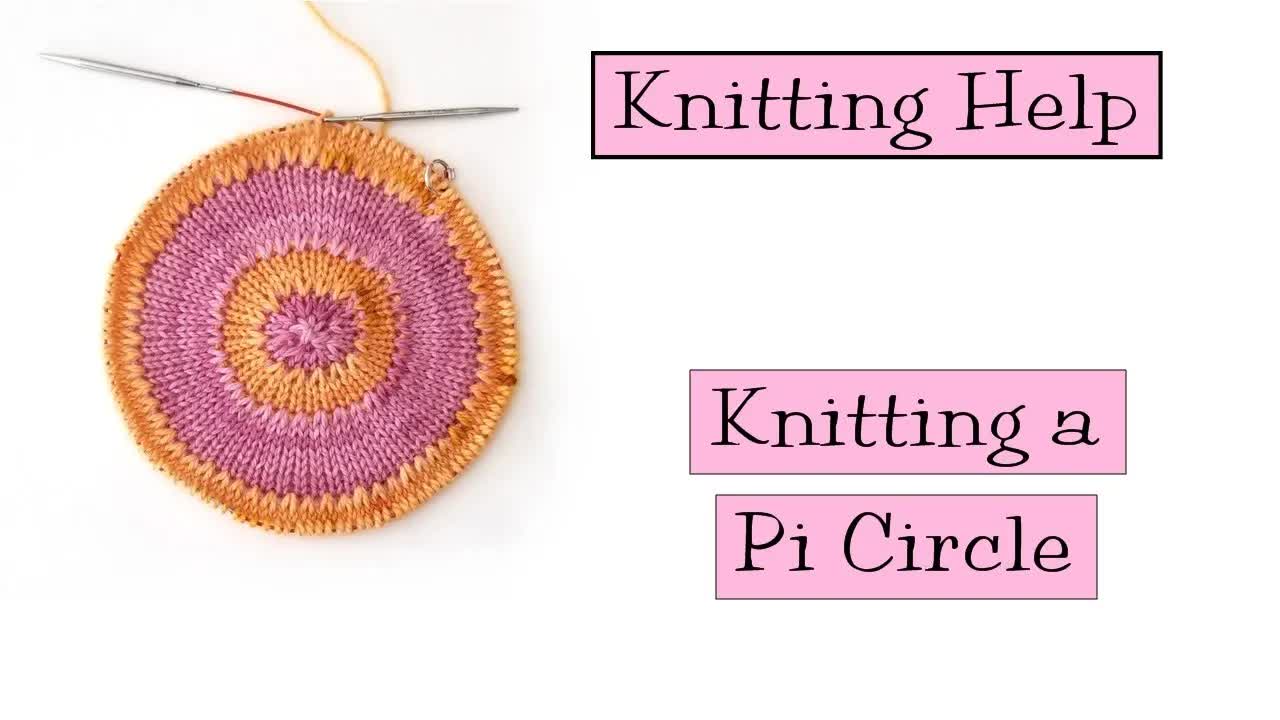
Knitting a Pi Circle"It's pi. The geometry of a circle hinging on the mysterious relationship of the circumference of a circle to its radius", the words of my knitting hero Elizabeth Zimmermann. In this video, I demonstrate how to knit a flat circle.
Instructions for working a Pi Circle: Note: I use KFB increases below, you can substitute any other one-stitch increase. Cast-on 8 stitches and join in-the-round on double pointed needles. Round 1: Knit Round 2: KFB all stitches (16 stitches) Rounds 3-4: Knit (2 rounds) Round 5: KFB all stitches (32 stitches) Rounds 6-9 Knit (4 rounds) Round 10: KFB all stitches (64 stitches) Rounds 11-18: Knit (8 rounds) Round 19: KFB all stitches (128 stitches) Rounds 20-35: Knit (16 rounds) Continue in this manner, increasing every stitch in the increase rounds, and doubling the number of plain knit rounds between increase rounds. Switch to longer circular needles as needed. Bind-off using a normal bind-off and a larger sized needle on what would be a plain knit round (not an increase round!).2025-01-03 23:42:10 -
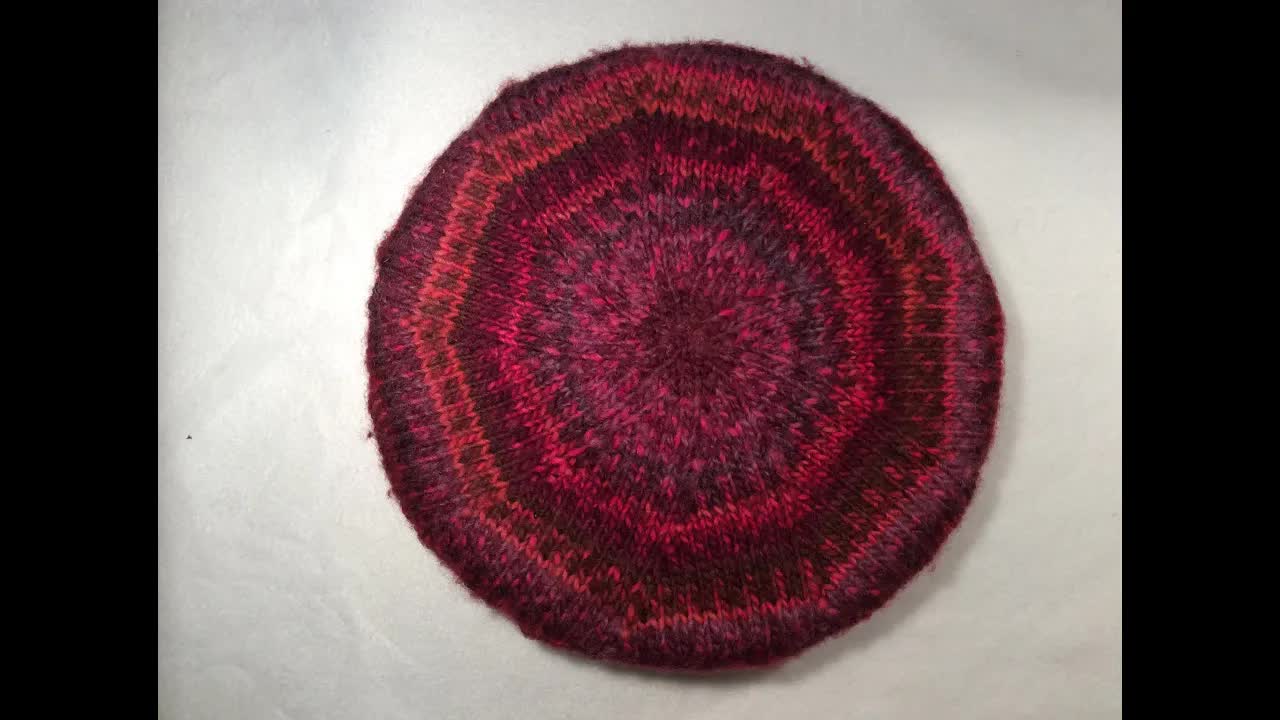
Knitting a flat round circleHow to knit a flat round from the middle outwards so you can make it as big or small as you like. Knit a flat round for a hat, or a beret. After starting the circle on double pointed needles you may want to switch to circular knitting needles when you have enough stitches and continue knitting the flat round with much ease2025-01-03 22:57:31
-
Crochet Short Rows - the Ins and OutsLearn what short rows are, what are they used for, and 2 techniques for how to work them. I use this technique a lot when working short rows at the back of the neckline of a top-down sweater. Hopefully, this video will help you understand how to work on the âstepâ left by the previous short rows to eliminate any unattractive gaps.2024-11-28 19:33:33
-
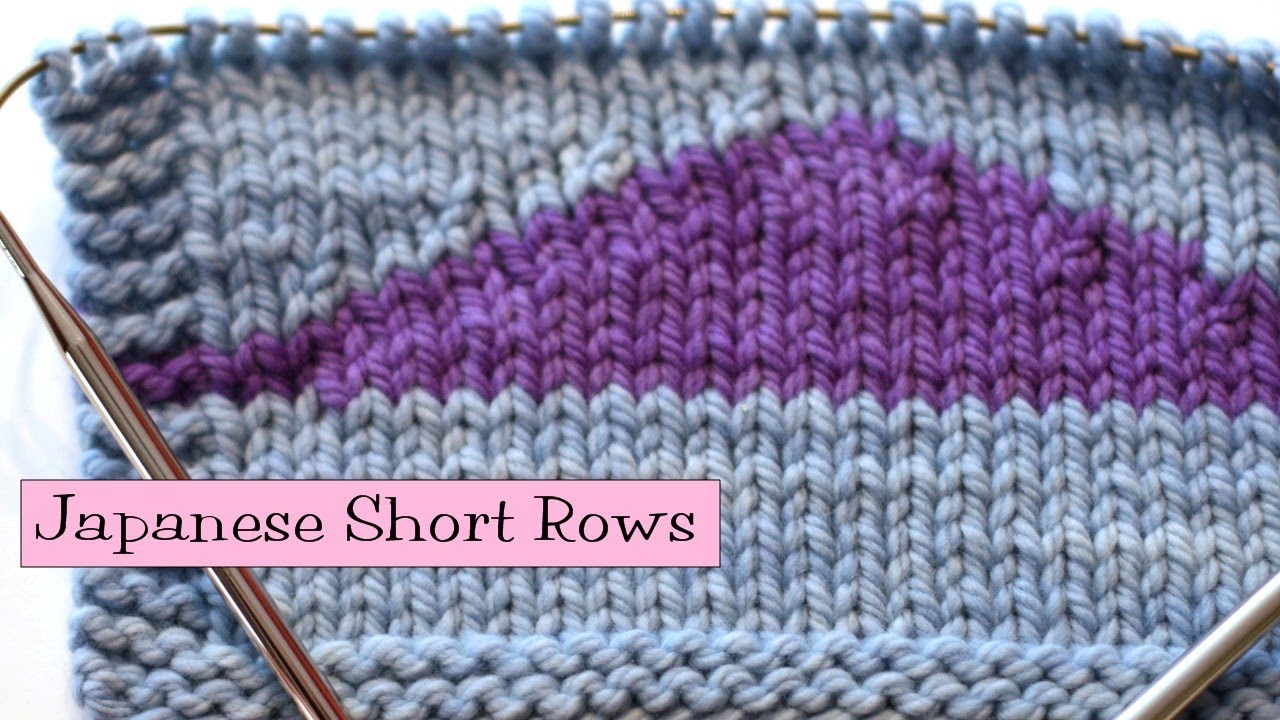
Japanese Short RowsInstructions for working Japanese Short Rows: Turning, knit side: 1. Knit up to the turning point 2. Turn -- you're now on the purl side -- and slip the next stitch purlwise from the left needle to the right, so that you working yarn is coming from the stitch on your right needle 3. Attach a pin to the working yarn -- the pin should go around the yarn, not through it 4. Continue, ignoring the pin, it won't be used until the gap is closed
Turning, purl side: 1. Purl up to the turning point 2. Turn -- you're now on the knit side -- and slip the next stitch purlwise, from the left needle to the right, so that you working yarn is coming from the stitch on your right needle 3. Attach a pin to the working yarn -- the pin should go around the yarn, not through it 4. Continue -- if you flip the knitting over, you'll see the pin attached to a loop
Closing the gap on the knit side: 1. Knit until you reach the gap, clearly marked by the clippie marker between two stitches 2. Grab the clippie and pull the yarn it holds onto the left needle. The loop should be correctly mounted with its right leg in front 3. Knit that loop together with the next stitch on the left needle 4. Remove the pin
Closing the gap on the purl side: 1. Purl until you reach the gap, clearly marked by the clippie marker between two stitches 2. Grab the clippie and pull the yarn it holds onto the left needle. The loop should be correctly mounted with its right leg in front 3. Purl that loop together with the next stitch on the left needle 4. Remove the pin2024-11-18 00:54:24 -
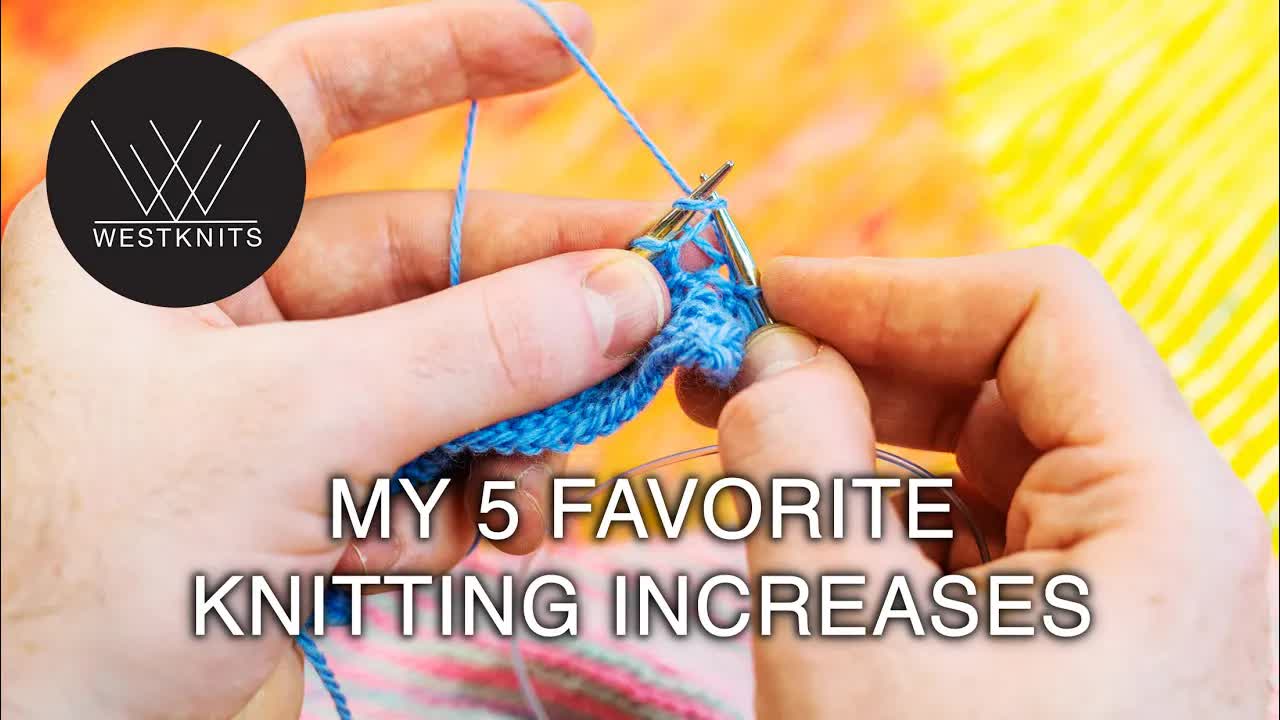
My 5 Favorite Knitting IncreasesKFB (knit front back), YO (Yarn Over), M1BL (Make 1 Backwards Loop), M1L (Make 1 Left), M1R (Make 1 Right), M1KBSB (Make 1 knitting into the back of the stitch from the row below). Note that Make 1 Backwards Loop can easily be made too tightly.2024-11-06 03:13:46
-
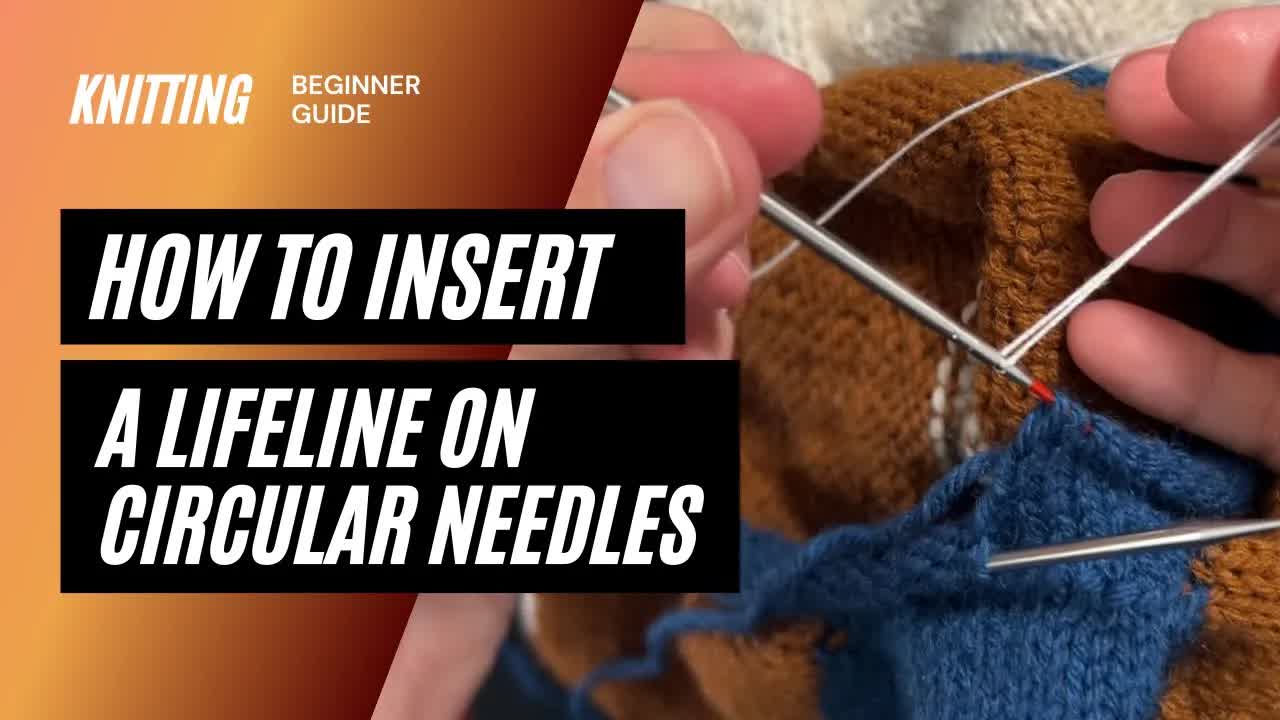
Insert a lifeline on interchangeable knitting needlesHow to insert a lifeline on interchangeable knitting needles (like ChiaGoo) | knitting in the round Adding a lifeline while knitting in the round on circular needles just got easier if youâre using interchangeable knitting needles like ChiaoGoo. Learn how to quickly thread a lifeline into your work as you knit - quick and easy! Note: it isn't really necessary to tie a knot, if you leave enough trailing edge, it won't come undone.2024-08-18 18:15:43
-
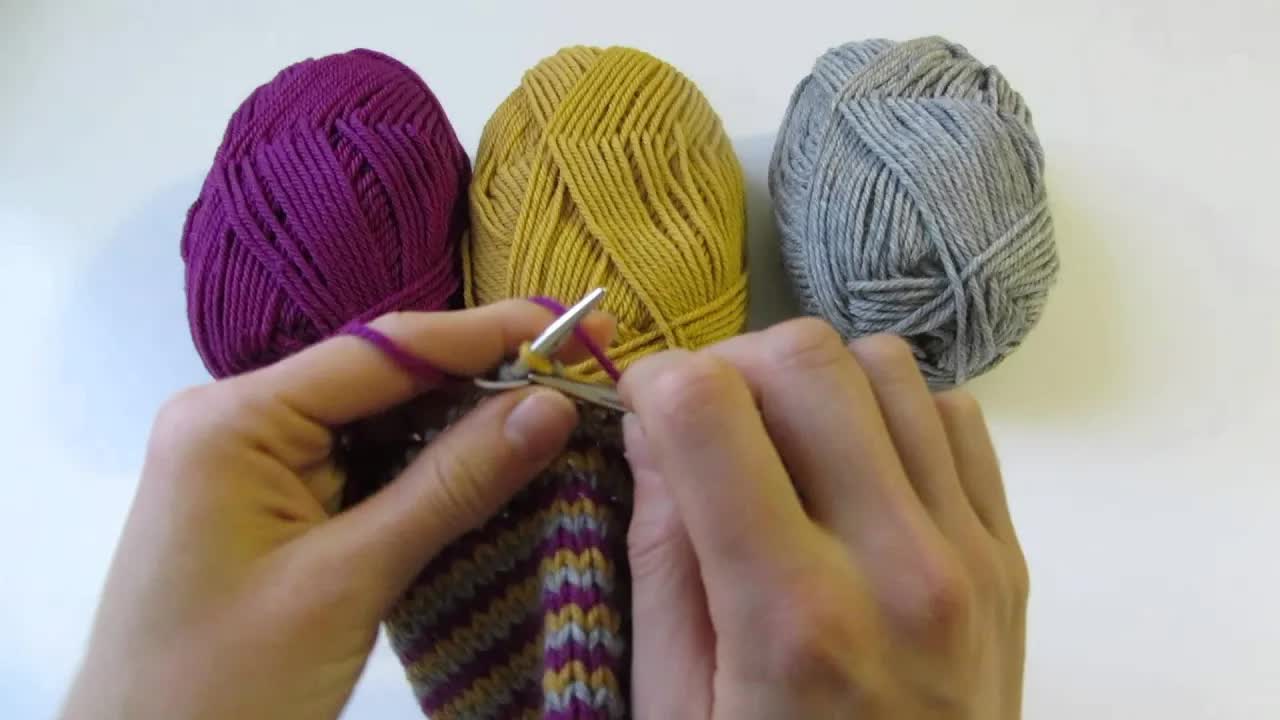
Helix KnittingHello, lovely knitters! In this video, I demonstrate the technique of helix knitting. Helix knitting involves working several yarns in continuous spirals, which creates jogless stripes and avoids the need to carry yarn floats up several rows in between colour changes. The actual knitting part of helix knitting isnât complicated, but keeping the yarn balls organised to avoid tangling the yarns requires a little concentration.2024-08-16 04:45:58
-
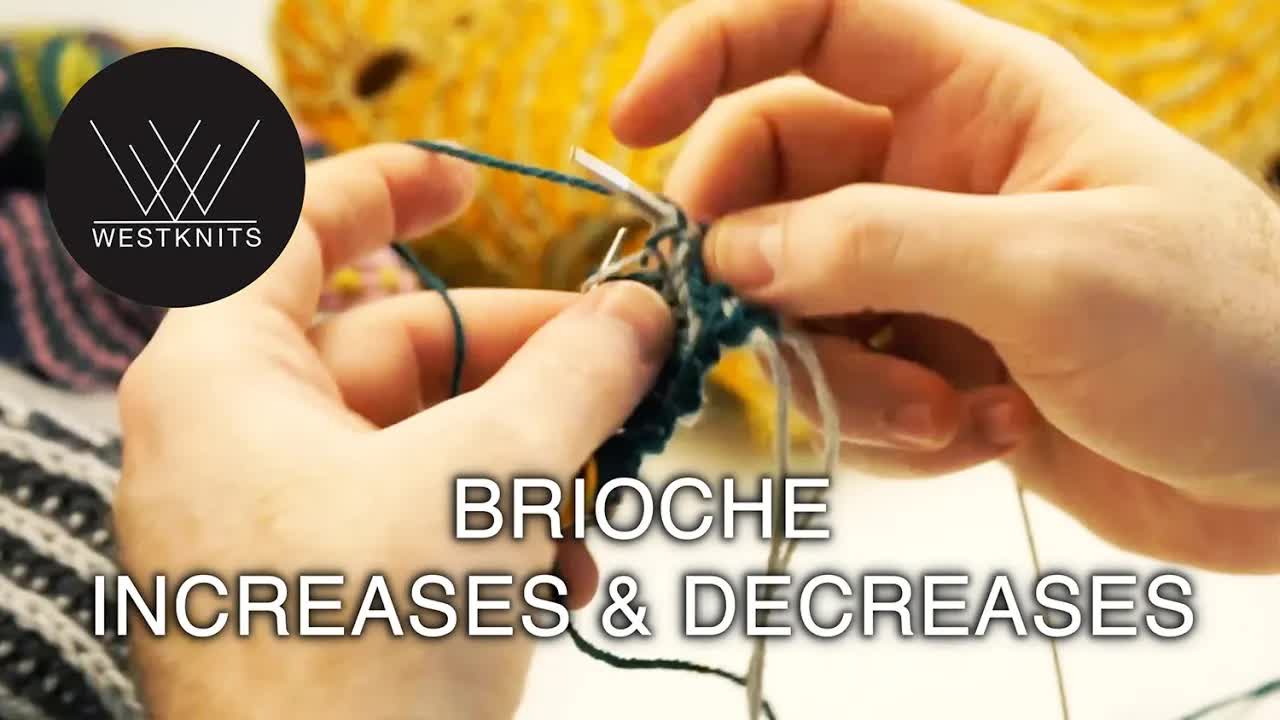
Brioche Increases & DecreasesBrioche increases and decreases, Continental style and English style. brk: brioche knit also known as bark, knit the stitch (that was slipped in the previous row) together with its yarn over. brkyobrk: Two new stitches spring out of the center of one stitch with this increase. Work a brkyobrk as follows: brk1 (leave stitch on the needle), yo (yarn forward under needle then over needle to back), then brk1 into same stitch. 2 sts increased. brp: brioche purl also known as burp, purl the stitch (that was slipped in the previous row) together with its yarn over. brLsl dec: (2-stitch decrease that slants to the left, involving 3 sts) Slip the first stitch knit-wise, brk the following two stitches together, pass the slipped stitch over. brRsl dec: (a 2-stitch decrease that slants to the right, involving 3 sts) Slip the first stitch knit-wise, knit the next stitch, pass the slipped stitch over, place stitch on left hand needle and pass the following stitch over. Place st on right hand needle.2024-08-15 11:24:11
-
Colorwork with Mosaic KnittingCreate Flawless Colorwork with Mosaic Knitting | Tip Jar Tutorial Welcome to this Tip Jar Tutorial on Mosaic Colorwork! If you've ever struggled with getting consistent tension in your colorwork (I know I have), this is the tutorial for you! I'll tell you the where, why, and how mosaic slip-stitch colorwork is the easiest path to flawless and gorgeous projects. Trust me - it's a game-changer!2024-07-23 23:41:28
-
Add structure to crocheted tote bagshow to add structure to crocheted tote bags | a lazy girl's guide to making awesome crochet2024-06-02 21:57:10
-
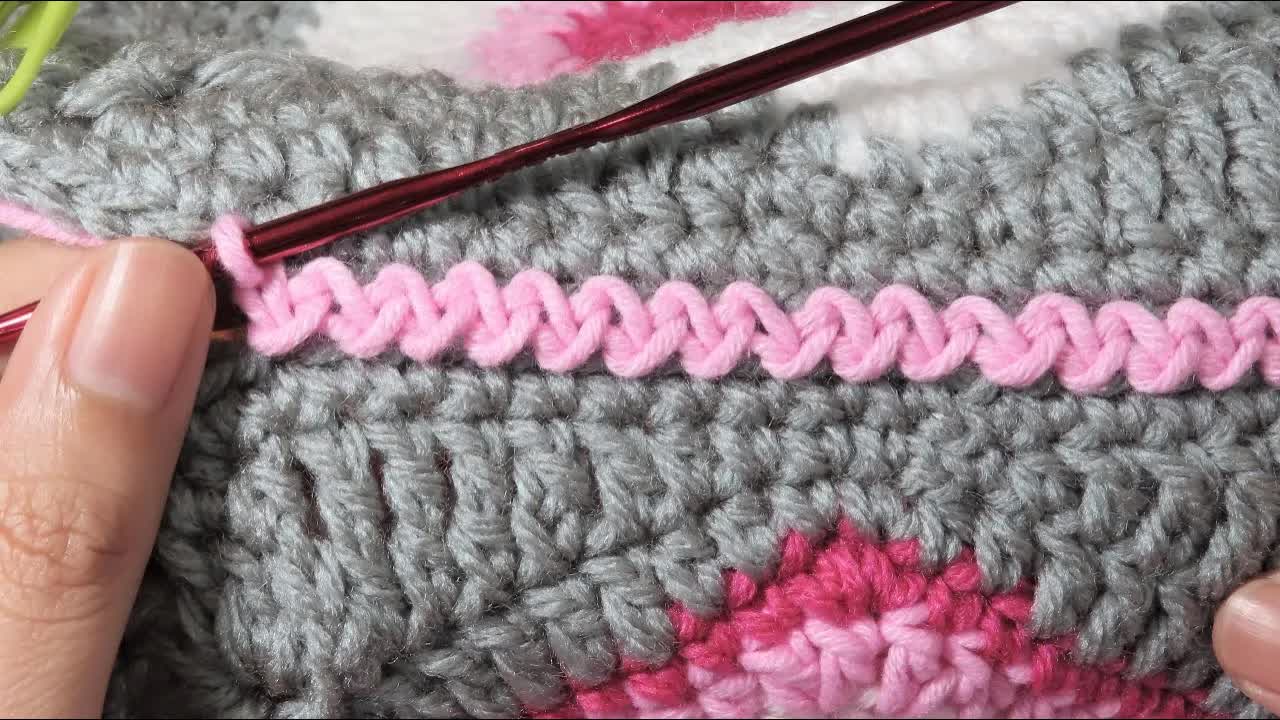
Join Squares No2 Castle Line Slip Stitch JoinJoin Squares Idea in Crochet No2 | Castle Line Slip Stitch Join Join granny squares idea. Castle line slip stitch.This joined is also flat, non holey, tight and easy. Only using a slip stitch and crochet hook. I used an embroidery stitch named ladder stitch as an inspiration for this.
Crochet hook: 4.25mm Yarn used: Medium weight yarn, 100 % cotton.2024-05-22 15:30:54 -
Joining Squares Zigzag Slip Stitch MethodJoining Squares Idea in Crochet | Zigzag Slip Stitch Method | Embroidery Inspired How to join a crocheted granny squares in zigzag slip stitch method. This join is tight, flat & has a nice & neat seam in both sides even when stretch, very easy and it works fast.2024-05-22 15:23:33
-
Crochet join for squares using dc2 togetherCrochet join for squares using dc2 together, easy tutorial Crochet Nuts Another method of granny square joining using crochet. This tutorial uses a double crochet together method for a more open weave join. Stitches used are (US terms) dc2 together. I am using DK yarn but any yarn can be used for the squares and join stitches. The hook used for the join is a 5.5 mm. Suitable for a crochet beginner.2024-05-17 11:56:10
-
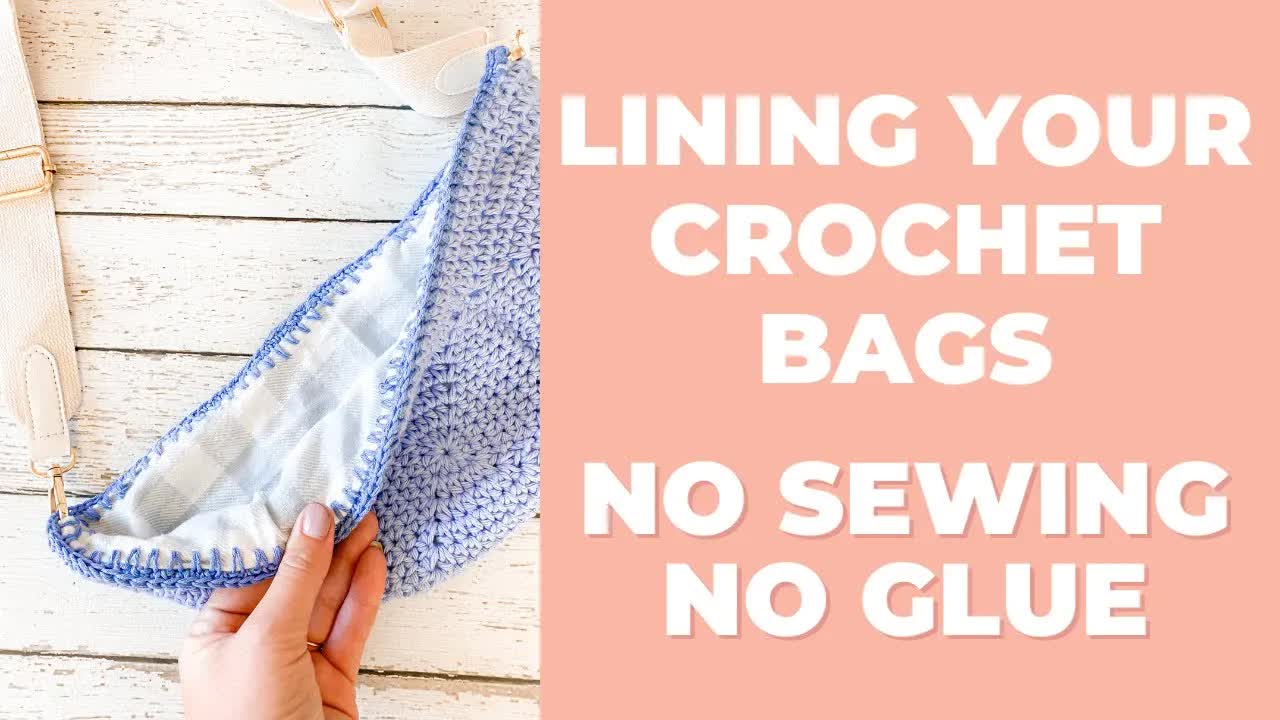
No-Sew Lining for Crochet BagLine a Crochet bag using only Crochet - No Sewing! If you've always wanted to add a liner to your crochet items but didn't know how or want to sew, this is the tutorial for you!
Tools:
Rotary cutter with skip blade: https://amzn.to/3AMsx3F Crochet hook clips to or pins to hold fabric.2024-04-23 20:24:44 -
Tunisian Crochet short Rows in SpiralsTunisian Crochet short Rows in Spirals: Centerpiece Project This is a support video to my pattern for centerpiece in Tunisian crochet using the short rows technique working in spirals.2024-04-06 04:27:19

