Search craftmarks
Prev
Next
25 records found. Page 1 of 2.
-
How to Make a String Art in Epoxy Resin Pendant | UV Reactive Glow | DIY TutorialString art has been a popular craft for over a hundred years, especially in the late 1960's and 70's when it was combined with psychedelic colours to create some very dazzling geometric patterns.
I could not find any examples of string art ever being crafted into resin, so here is my experiment using DMC Light Effects E980 thread to make a very striking pendant, which is bright yellow in daylight and glows like crazy under blacklight. The idea was to remove the pins after the resin had cured to leave the string magically suspended with no visible means of support.
Please join me over on Instagram @resinaceous for sneak previews, work-in-progress and some exclusive designs that don't feature here on YouTube.
I hope you enjoy the video!
artresin resin #resinproject2023-07-05 08:24:00 -
UV Resin Water Droplet TechniquePossibly the BEST ORIGINAL Resin technique of 20232023-06-22 00:36:00
-
Epoxy Resin Tray using the Cling Film TechniqueHey my lovelies, In this video I am showing you how I used the Cling Film Technique in Epoxy Resin, to create the most amazing luxurious fabric effect within the resin. As I say in the video, this is my first attempt and whilst it did not turn out how I expected, my second attempt truly is not to be missed. My second attempt will be out Saturday.
This video was inspired by the amazing Wanda .. check out her channel here: https://www.youtube.com/channel/UCgoyIUrQektSn8VdxW9kyuQ
The tray mould used is from Molds and Shapes and you can get 5% off of your order using my code CCC5 at checkout: https://moldsandshapes.com/
I am using Chameleon powders from Resin D'etre Supplies over on Instagram: https://www.instagram.com/resindetresupplies20/
Contact Helen on her Instagram if you would like to purchase the Chameleon powders.2023-06-21 09:02:00 -
#2. Concentrated alcohol inks in resin. The Fire Whisp effect. Tutorial by Coopers Custom Casts.This is my regular technique with alcohol inks but I'm showing you how I create the Fire Whisp as a 1st effect for you to try.2021-05-28 15:42:00
-
You Can Make Refillable RESIN Pens Using Silicone MouldsYou can make refillable RESIN pens using Silicone Moulds I know these moulds have been popular and they do make great resin pens. Although it was disappointing that they are only one use pens. However, this experiment changes that. This video shows how you can make resin pens which you can refill with new ink refills without ever having to throw away your beautiful creations.2021-01-29 10:28:00
-
Image Transfer To UV Resin Tutorial Creating Butterfly Wings - Artist Collab with TurtleSoupBeadsIâm really excited to bring this tutorial to you! Being able to transfer an image to UV Resin is going to ROCK your world and open up tons of possibilities to your UV Resin creations! With my new technique, you will no longer need shape molds making the possibilities endless! Needs laser-printable transparency sheets and a colour laser printer as well as UV resin.2019-08-30 00:39:00
-
Using Langridge Pigments - Part OneThis video explains the versatility of Langridge Dry Ground Pigments, and specific instructions for use in resin.
All colours are pure single pigment types with no blending. Langridge supplies traditional earth and historical colours from original sources as well as constantly researching and selecting modern pigments to satisfy artist demand for new colours of vibrancy and intensity.2018-02-16 17:56:00 -
GLITTER and METALLICS in RESIN - Fun, NEAT Mix & Pour TechniqueNifty tips for mixing and using multiple shades of mica/glitter/colour in a resin piece. This is demonstrated on a pour painting, but it will work with jewellery casting etc.2017-12-27 17:34:00
-
Faux Opal Resin Cabochons DIY Tutorial Demo (ArtResin)Two-layer method for making faux opals out of resin and irridescent cellophane (mylar) glitter. The idea is to make the first layer clear, and put the cellophane glitter in that, then when that layer is set, make a second batch of resin, colour it, and pour it on top; this gives colour to the piece without obscuring the glitter (the bottom of the mould will be the front of the piece). This can be done for dark opals (using a dark background layer), and white opals (using pale glitter and white background).2017-09-21 14:20:00
-
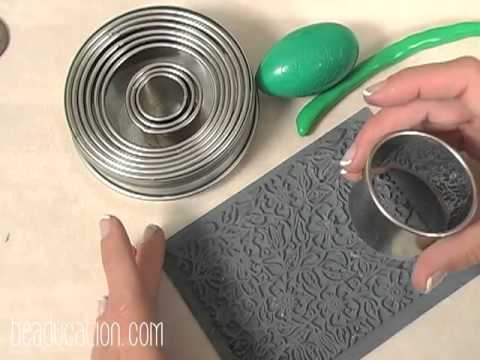
Resin Foundry - Beaducation.comLearn a classic jewelry technique known as cold casting. This class uses traditional resin techniques to make metal components that are perfect for drilling, riveting or other cold jewelry work. Debbi covers bronze casting, adding color, polishing and antiquing. The result is a wonderful assortment of components to use for your imaginative designs.2017-09-20 13:24:00
-
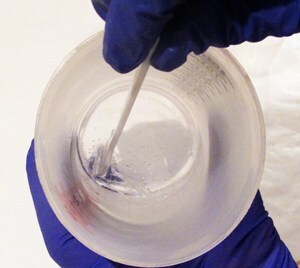
Resin jewelry making - how to mix epoxy resinA very useful video on how to mix epoxy resin so that it is mixed thoroughly and won't have a lot of bubbles.2017-01-17 08:37:00
-
Resin Jewelry Tutorial: Using Pebeo Paints - Mixed MediaThis tutorial shows how to make simple charms with resin and Pebeo paints. These paints create beautiful abstract and unique designs. Paints used in this video were:
Pebeo Prisme Fantasy Pebeo Moon Fantasy Pebeo Vitrail Glass.
The usefulness of this technique depends entirely on whether one can or cannot get hold of these Pebeo paints, alas.2016-12-25 09:01:00 -
Faux Moss Agate with Clare HornerHow to cast and create a faux moss agate stone for use in jewelry or mixed media projects. The secret is using actual moss! It is called "Reindeer moss" or "lichen" and is used for faux trees and bushes in model railways.2016-12-22 23:19:00
-
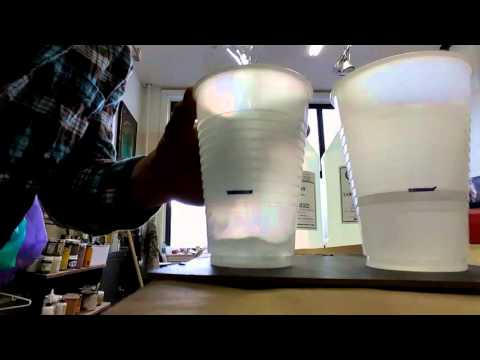
Resin tipsHow to make your own disposable measuring-mixing cups for resin. If one is using a resin which is mixed in a ratio 1:1 by volume, this method works to make a measuring cup which holds two equal volumes (and can then be used for mixing the resin). Take two disposable plastic cups, water, and a permanent marker. Pour a volume of water into one cup, mark the level. Pour that water into the second cup, mark that level. Pour another lot of water into the first cup, to the level you marked. Then pour the second lot of water into the second cup, and mark the new level (then pour all that water into the first cup, and mark that level). Now each cup will have two marks on them, each marking an equal volume. If one is CAREFUL, then one can use this to both measure and mix the resin, by pouring in the first part and then the second. The risk is that one may accidentally pour in too much of one or the other, and then have no way to correct it. On the other hand, this method has the advantage that one isn't losing any resin or hardener due to them clinging to the sides of the measuring cups, so it's a trade-off.
One could probably do something similar for 2:1 ratios, using this method to mark three equal volumes on a cup, and then fill the resin to the second level, and the hardener to the third level.2016-12-19 14:20:00 -
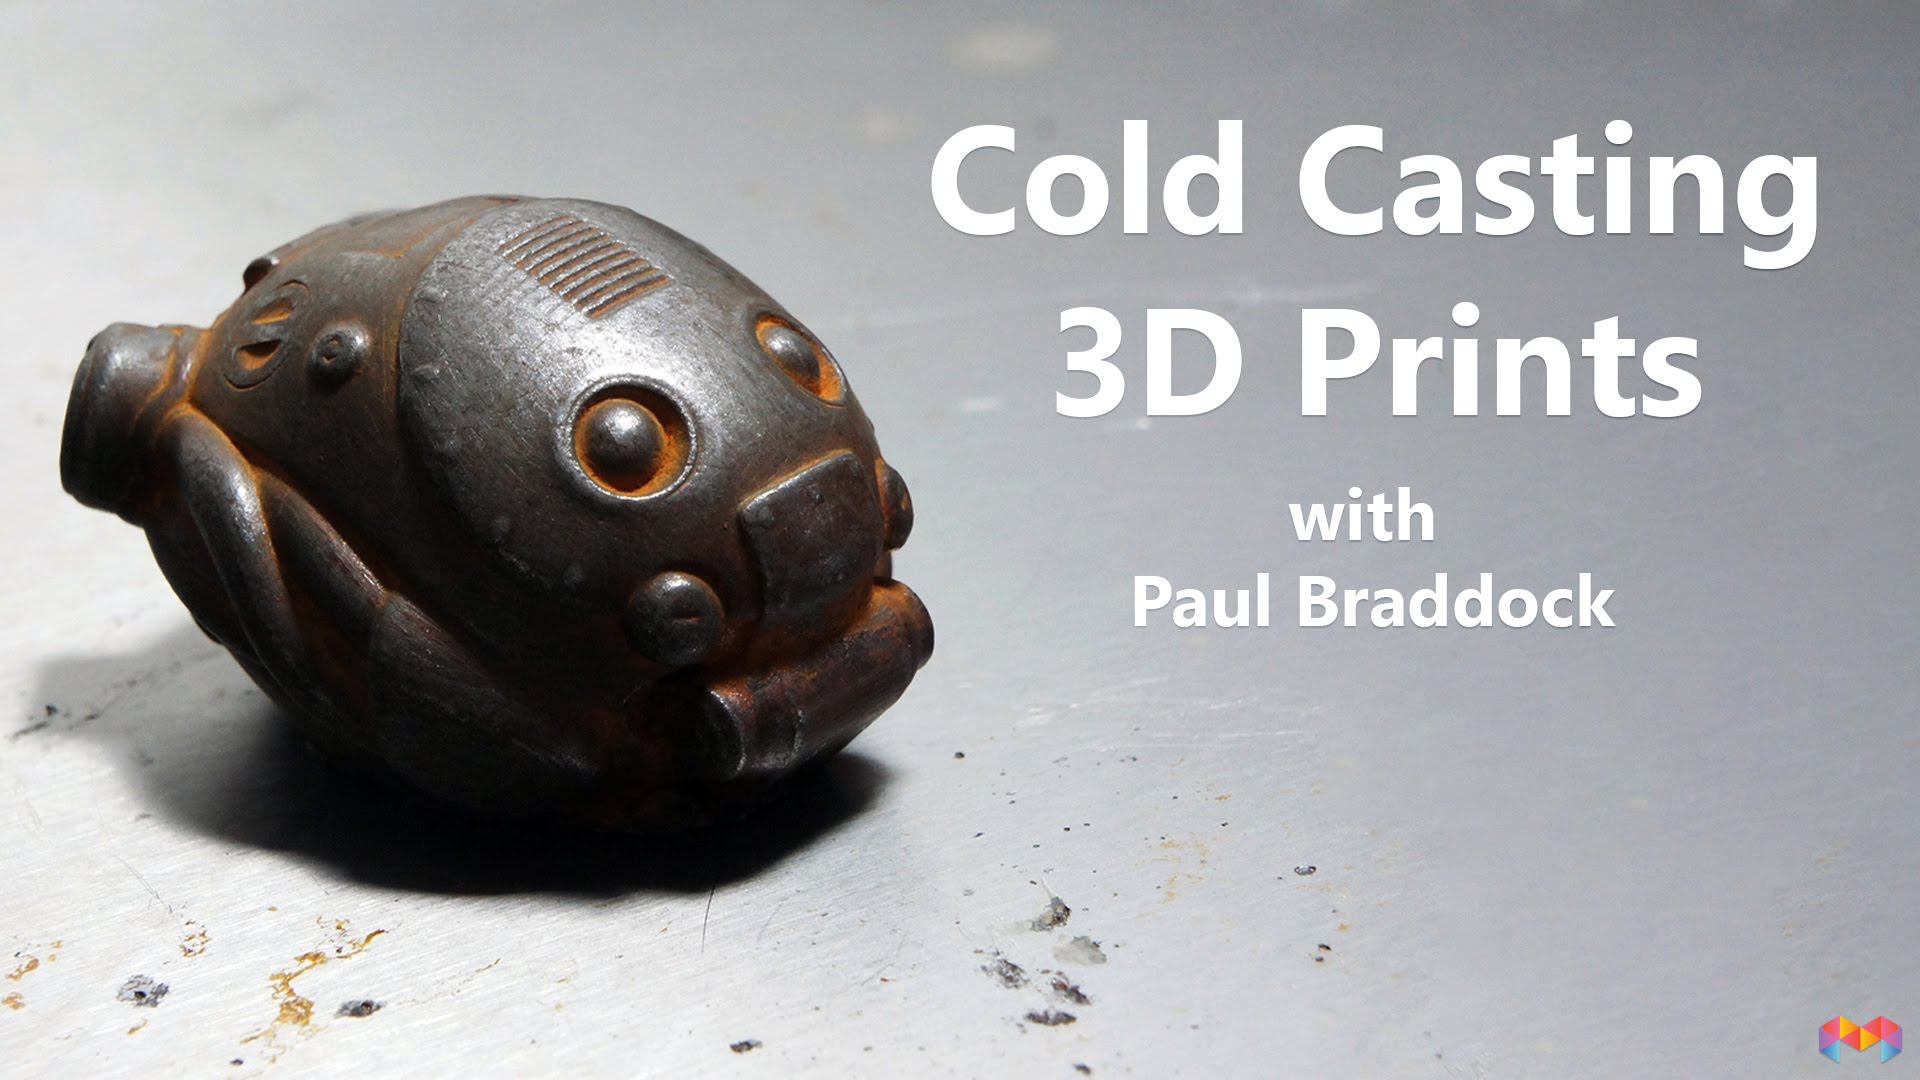
Cold Casting your 3D PrintsIn this video Paul Braddock covers how to Cold Cast a 3D Printed design. Printing, making a silicone mould from the print, doing the cold-casting with metal powder and resin, and then adding a patina and finishing.
Notable because the presenter and the materials are Australian.2016-12-17 18:44:00 -
How To Cold Cast TutorialThis shows what cold casting is and this shows how it is done by casting up a copy of a cortana data chip replica from halo 4.
How to cold cast- this uses a polyurethane resin (but other resins will work too) and mixes it with metal powders. This technique is called cold casting, as it gives you the appearance of a metal cast piece but there was no melting involved, hence cold casting. This video shows the 4 main steps involved in cold casting which are:
Prepping the mold with metal powder casting into the mould with plastic weathering the cold cast piece polishing with steel wool
At the end of the process you have a cold cast piece that looks like real metal... because it has real metal in it!2016-12-17 06:56:00 -
How to Make Silicone Molds For Crafting Using Liquid SiliconeThis is a video tutorial showing how to make handmade silicone molds for resin and clay. This method works for both flat and non flat pieces. The secret is using modelling clay as a base; that way the non-flat part of the master can be pushed inside the modelling clay and still lie flat. The frame can be pushed into the modelling clay also (no need for glue).
For resin use, make sure to use platinum cure silicone. If you use tin cure silicone, the resin may react to it and not cure properly. Polymer clay is NOT a good substitute for oil-based non-drying modelling clay since the silicone will react to it and will not cure properly.2016-11-29 07:31:00 -
How to make a mold for resinHow to make a mold for resin
This tutorial shows how to make a mold for resin and polymer clay. This uses Mold Star 16 fast from Smooth-on (liquid silicone mould maker) which is great for resin. Tips: using a ceramic tile as backing, cookie-cutter for frame, glue everything to the tile with white glue and hot glue.2016-11-29 07:19:00 -
Tutorial - Galaxy Resin 3D Swirl Bracelet!This video shows how to create a galaxy themed 3D glitter swirl in a resin cabochon. This has some really useful info on how to get the swirl effect. You need to let the resin cure a bit until it is tacky. You mix your glitter with resin, and put different colours down on the outside edges of the mould, then swirl each one towards the centre. That way the colours remain distinct and the swirling effect is more obvious. This swirling method can take some practice and timing will depend on your brand of resin, so it needs to be experimented with.2016-11-28 21:04:00
-
Bangle bracelet form for molding in siliconeHow to make your own bangle bracelet form for molding in silicone - Resin Obsession This tutorial goes through how to make your desired shape for a bangle out of polymer clay (and bake and sand it) and then use that bangle form as the basis of a silicone mould.,2016-11-28 17:49:00


