Search craftmarks
Prev
Next
4 records found. Page 1 of 1.
-
Bead Bowl Made with Assorted BeadsThis video will show a creative way I found to use leftover beads and make something brand new out of them. It is a step by step tutorial on how to make a one of a kind bead bowl! It truly fits in with my love of re-use, re-purpose and recycle! Everything needed to make this I had laying around the house and kitchen and I did not need to buy anything! I have done this project with my kids and they LOVE it! They make great gifts too!2023-11-29 13:30:00
-
DIY 3D Perler Bead Geometric PlantersI've been getting into raising air plants and succulents and I wanted to make it more fun by creating these simple perler bead geometric planters! To make this planter, it took roughly 2 hours for placing beads, ironing and gluing. :) If you don't have the hexagon pegboard, unfortunately it's not possible to make an equilateral triangle using a square pegboard. This is because the only positions you can make a line of beads on a square pegboard is 90 and 45 degrees, while you need a 60 degree angle to make the equilateral triangles.
PS The projects that I designed are not for commercial use and please don't redistribute my templates.2023-11-29 13:11:00 -
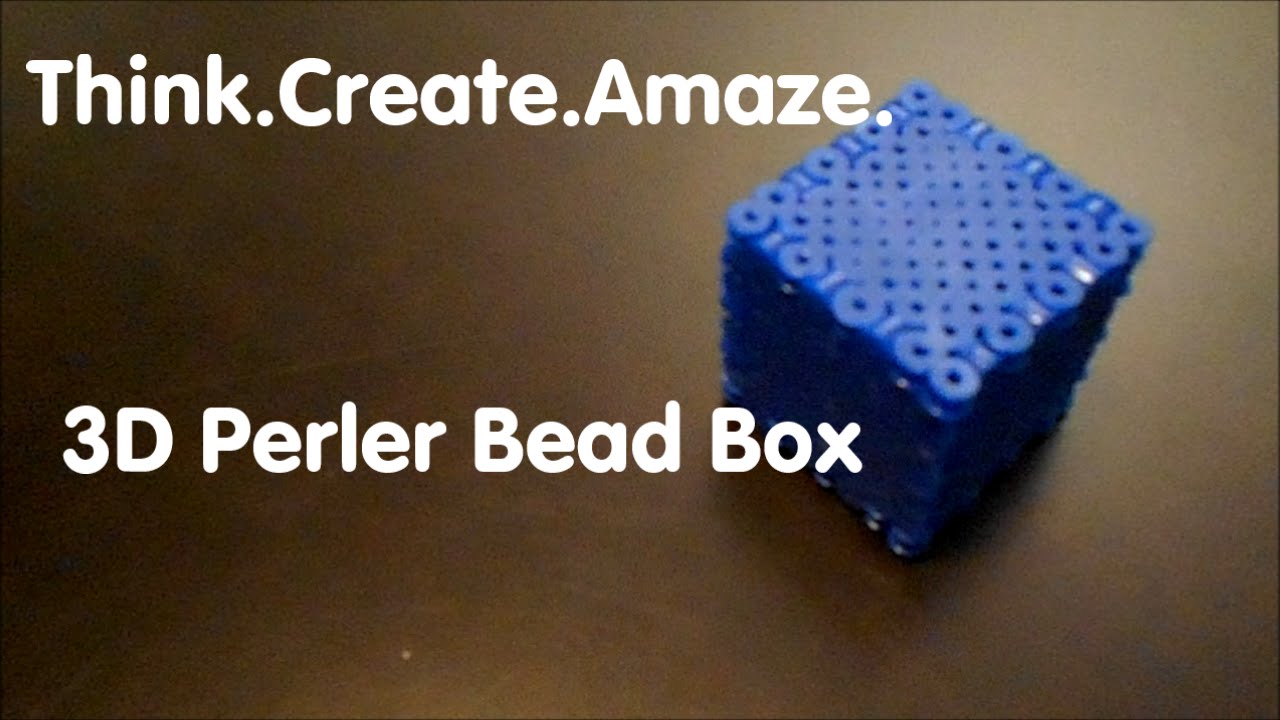
3D Perler Bead BoxA box made with six sides that snap together. While the sound on this is too soft, the instructions are at least clear and succinct.2015-03-22 05:43:00
-
Perler bead masking tape method Part 1 - YouTubeFirst of a four-part tutorial on fusing larger perler-bead creations. The idea here is to put masking tape over the whole piece, so that one can lift it off the peg-board and have more control over the fusing process, which is especially important with large pieces because the fusing takes longer. This is a good and helpful tutorial.2014-09-17 12:32:00


